Home Products Mobile Printing M600 Station

M600 Station

Easy cloud and mobile printing with secure card payment

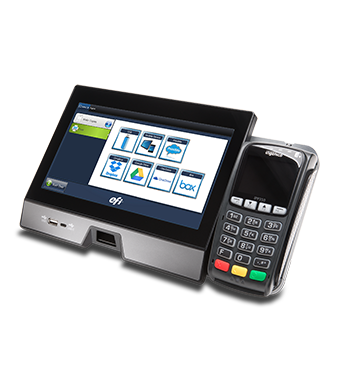
Perfect for school campus, library, hotels and retail store environments, the Mobile Printing M600 Station lets you copy or print from USB drives, mobile devices, or cloud accounts, and securely pay in a completely Mobile Printing environment.
m600 herol

Need Mobile Printing copy and print with access to the cloud?

The M600 Station is an evolution from the award winning M500 station with updated powerful hardware, modern design and enhanced user experience. The M600 station provides the easiest way for users to access files, print, copy or scan* and pay in a completely Mobile Printing environment, whether accessing files from their USB drives, mobile devices or popular cloud storage accounts such as Dropbox, Box and OneDrive, right from the large 10″ color touch screen with intuitive user interface.

Perfect for campus, library and retail office store environments, the M600 station provides secure encrypted communication for various payment methods. It allows credit card payment supporting EMV® with latest chip authorization and PCI Point-to-Point Encryption (P2PE)™, as well as cash card payment and integration with campus card and billing systems.

*only for select models. contact Fiery for more details.

  • Prints from USB drives and mobile devices.
  • Prints from cloud accounts like Dropbox, Box, Microsoft® OneDrive and PrintMe®.
  • Supports various file types including Microsoft® Office file formats.
  • Enables payments with all major credit cards, cash cards and campus cards.
  • Assures secure credit card payment supporting EMV® with latest chip authorization and PCI Point-to-Point Encryption (P2PE)
  • Integrates into campus billing and print management systems such as CBORD® and Blackboard®.
×

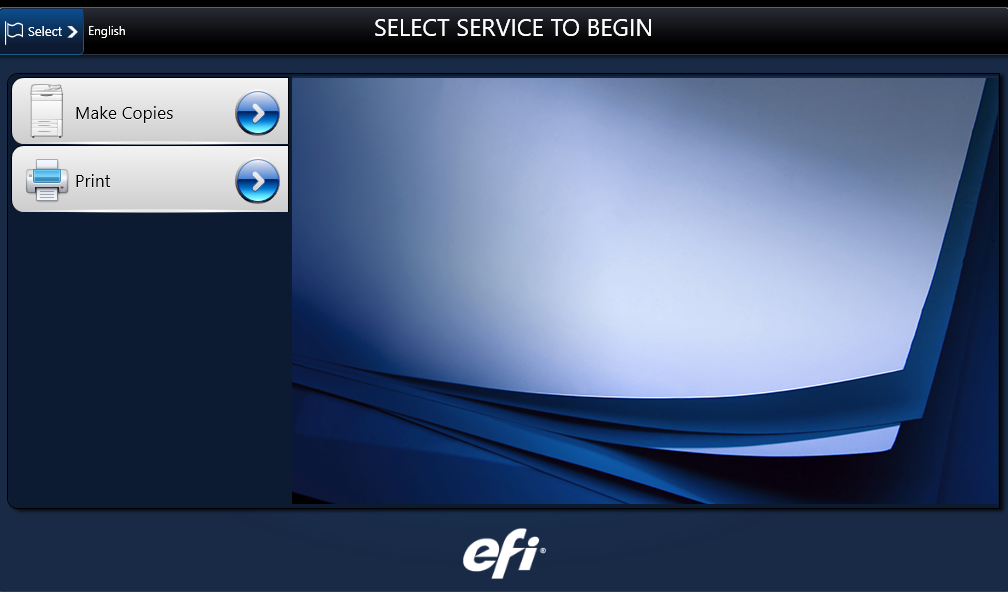
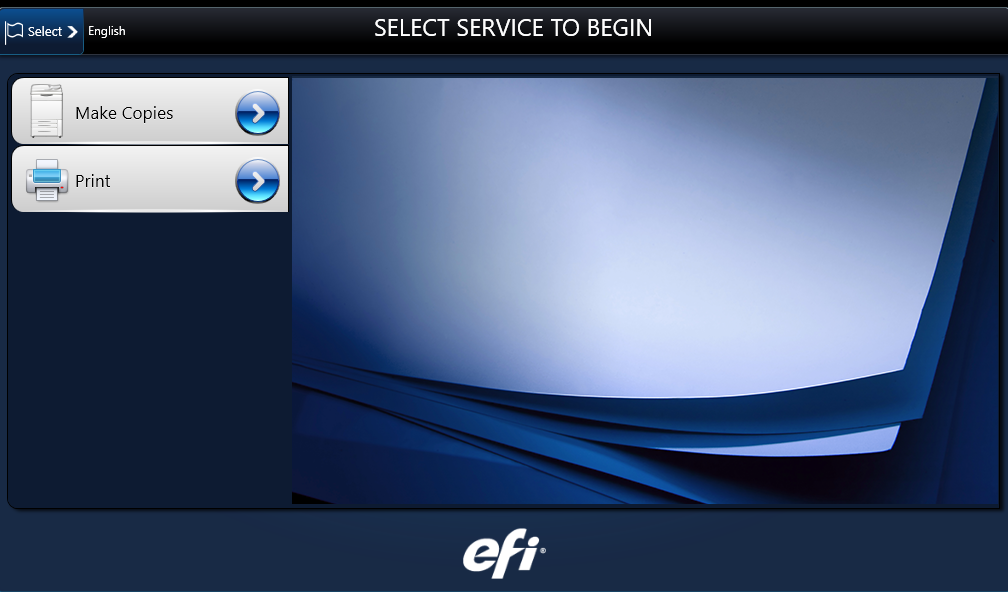
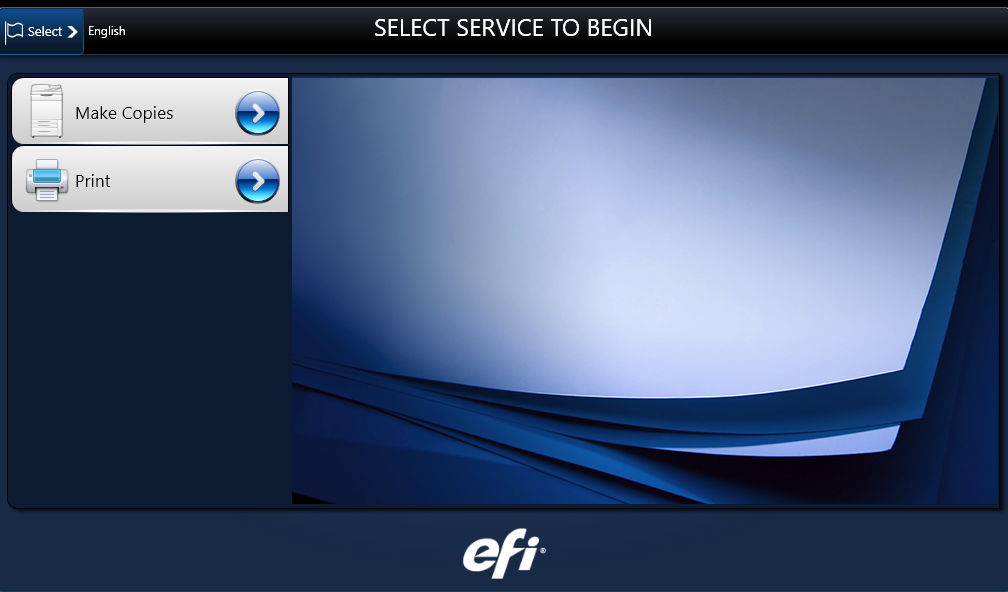
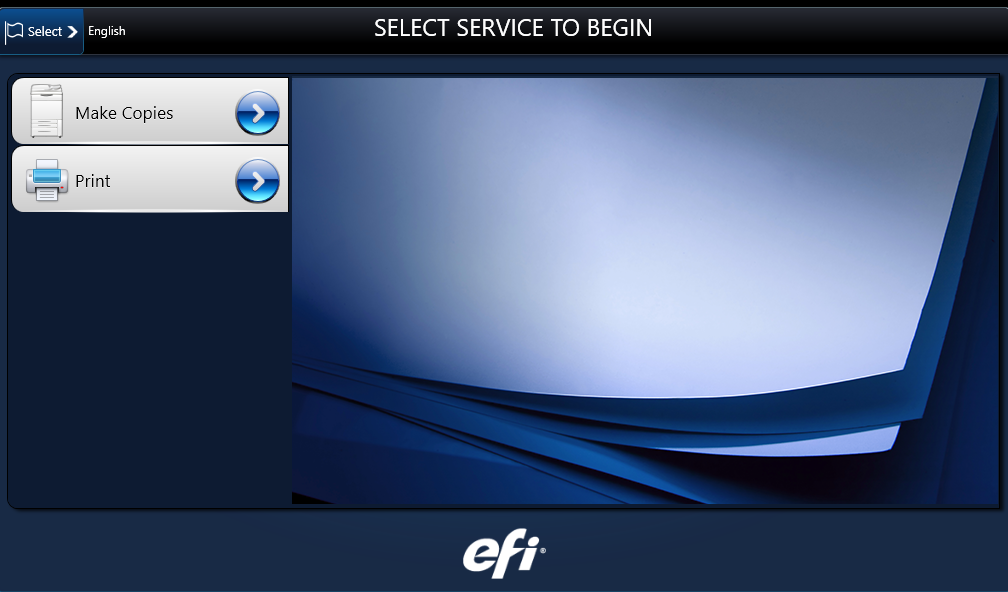
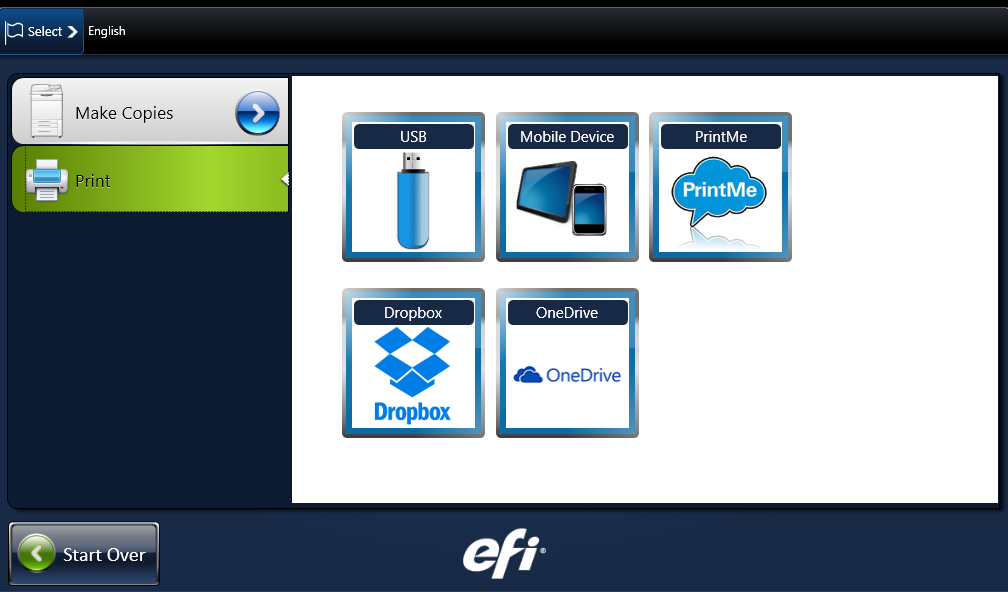
Step 1: Select the service to begin

Select Print.

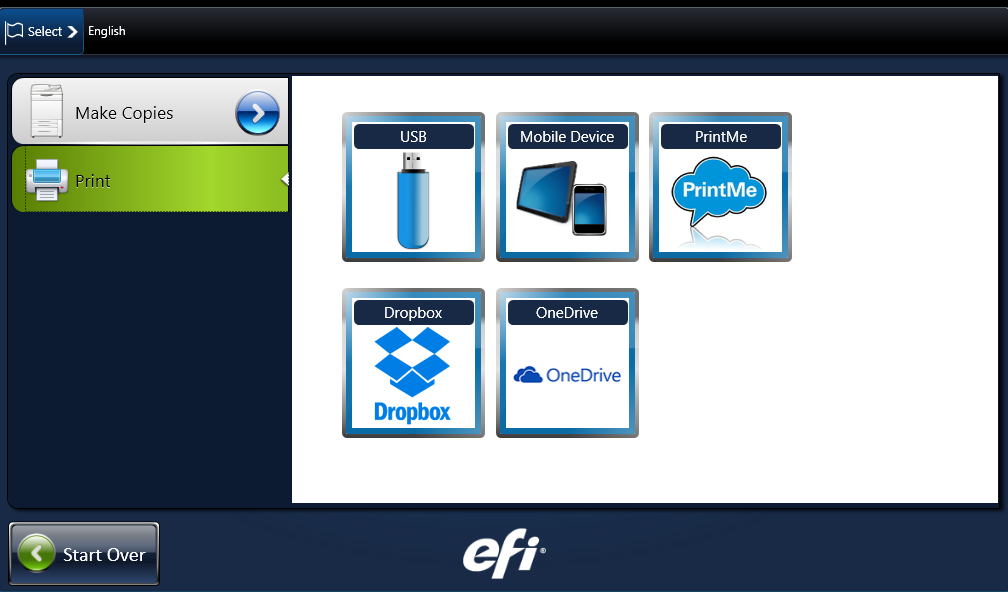
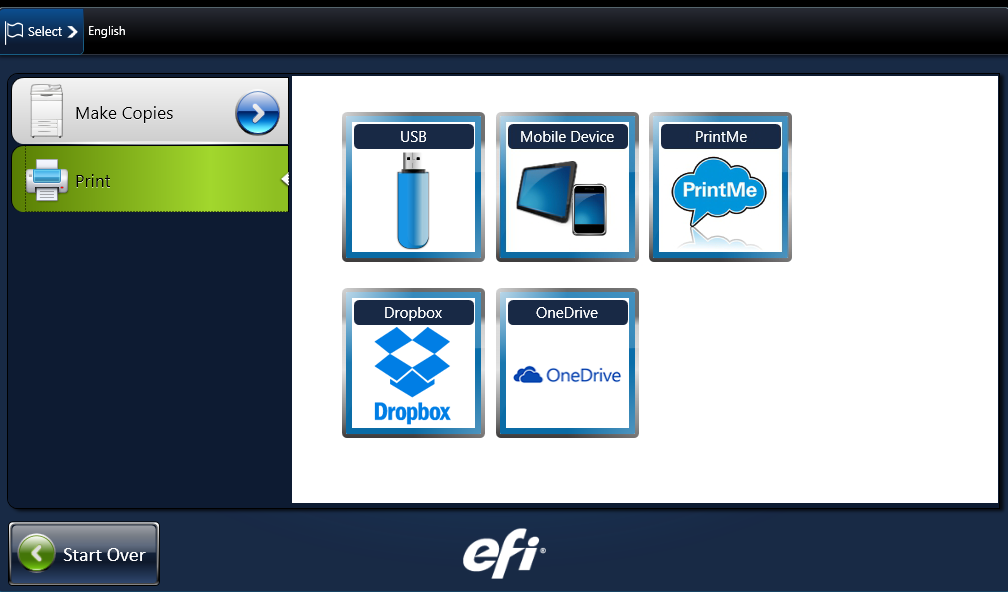
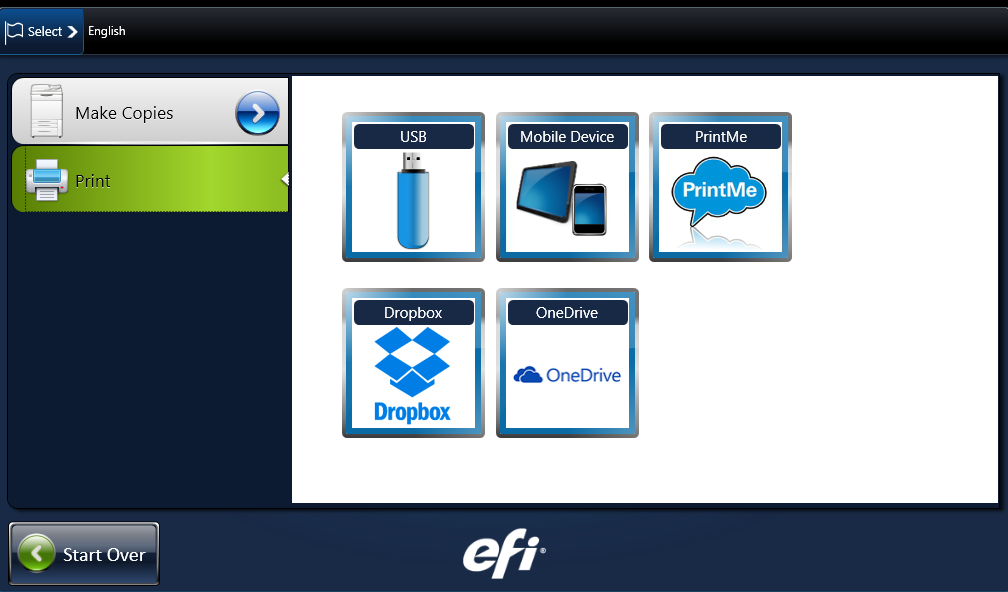
Step 2: Select option

Select USB.

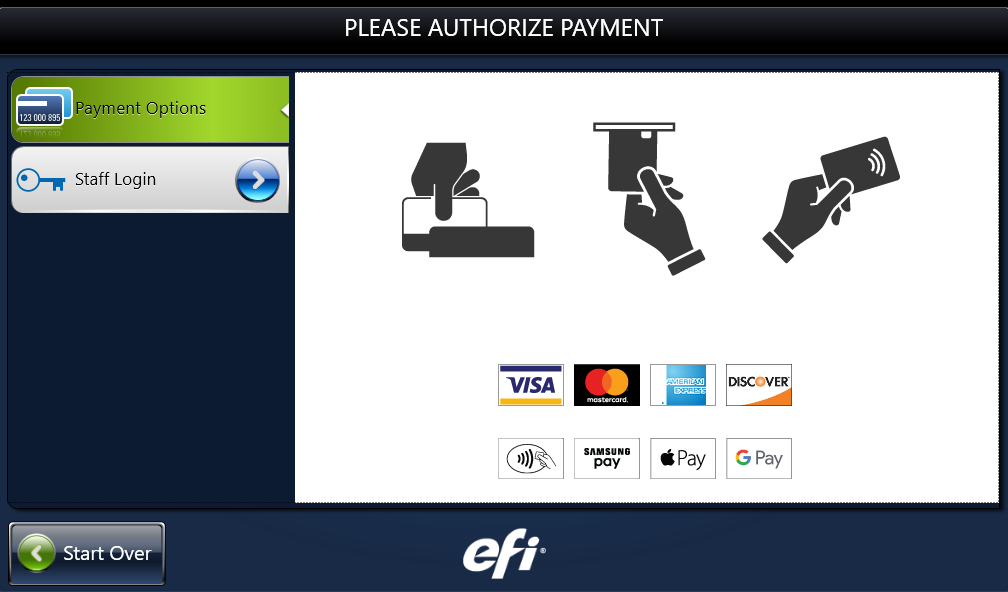
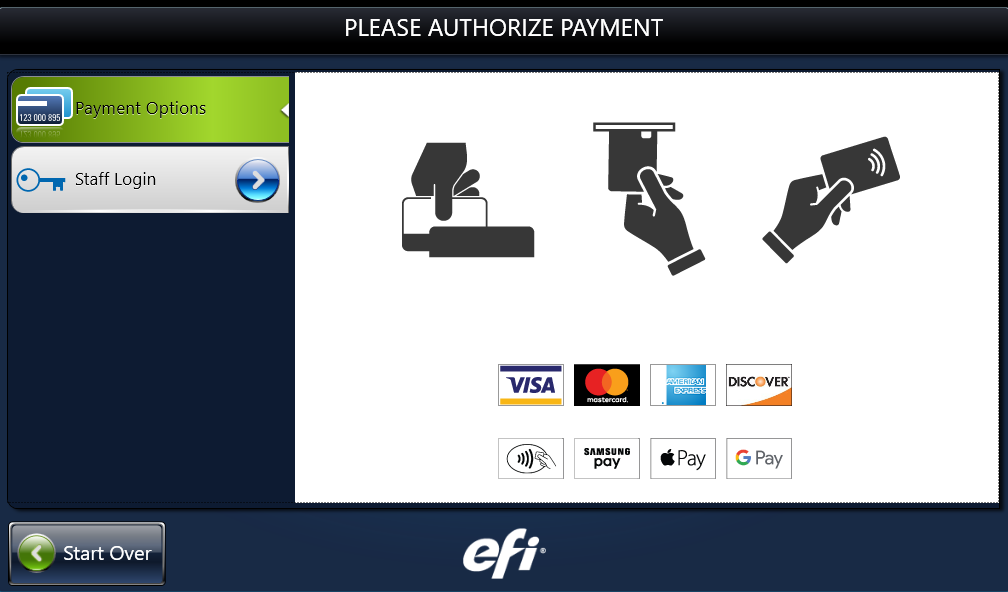
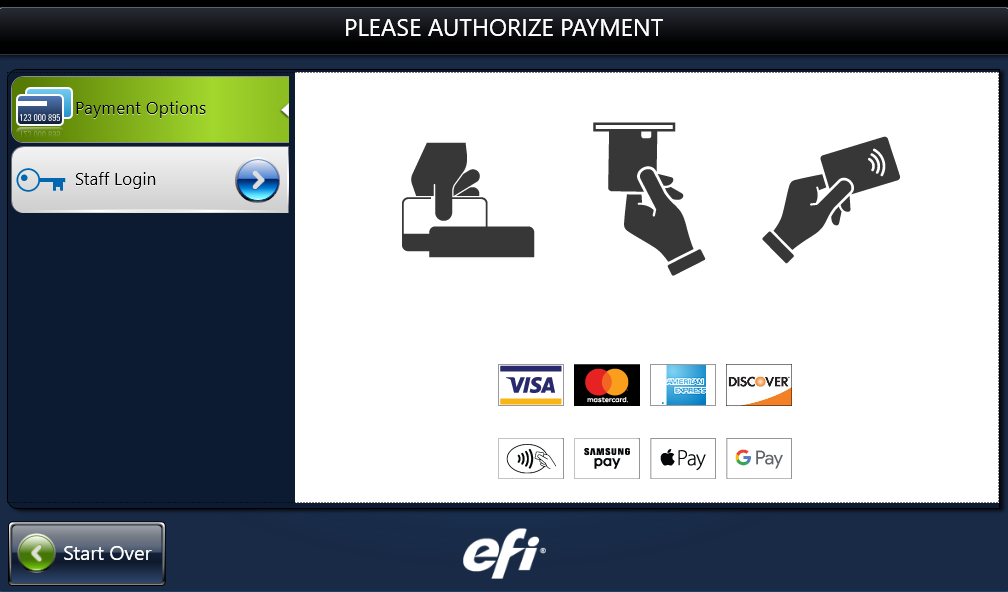
Step 3: Authorize payment

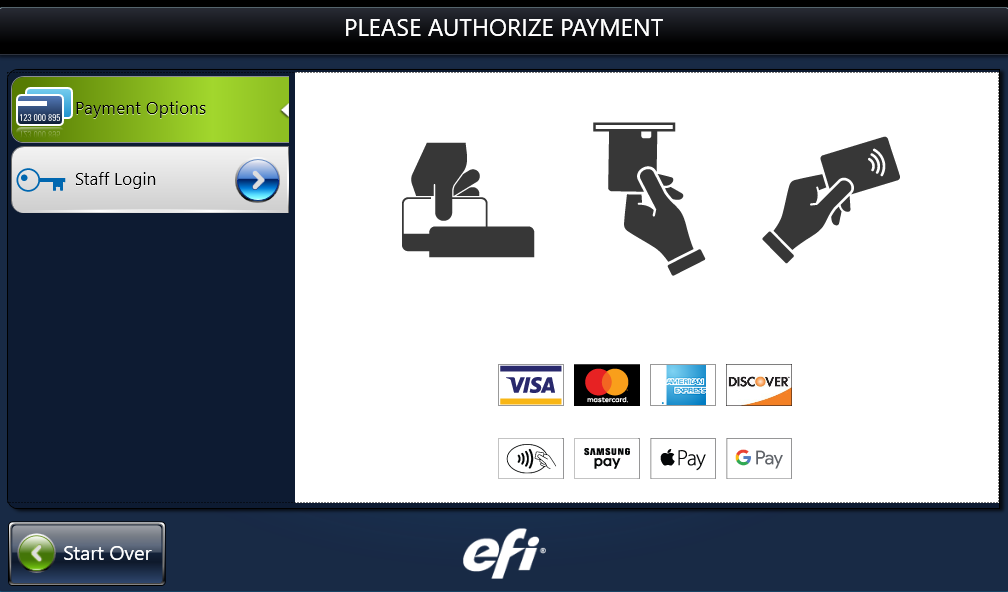
Authorize payment on the M600 connected card reader using a credit card, campus card or cash card. Some contactless and mobile payment options are supported.

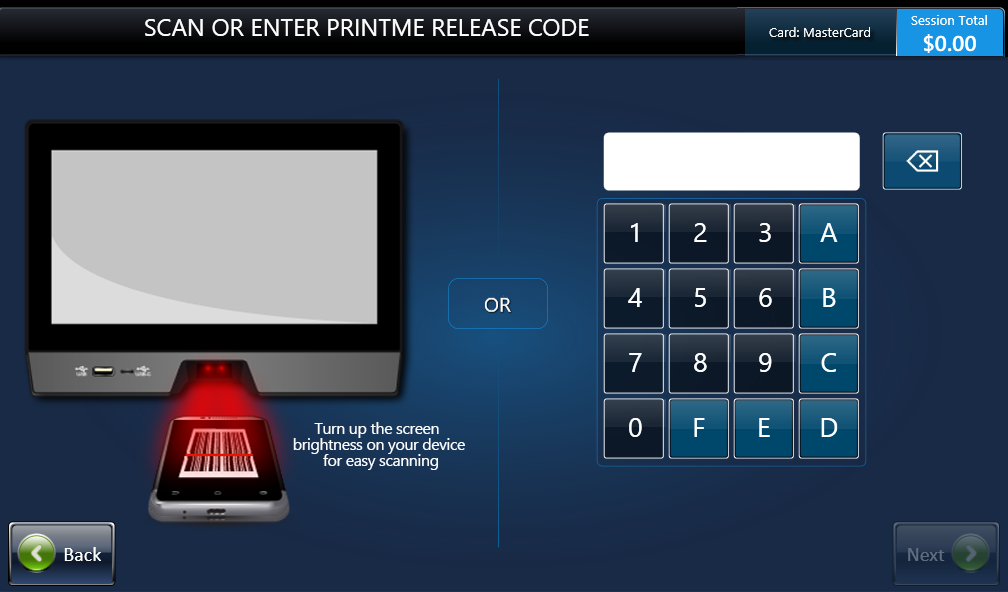
Step 5: Scan or enter PrintMe release code

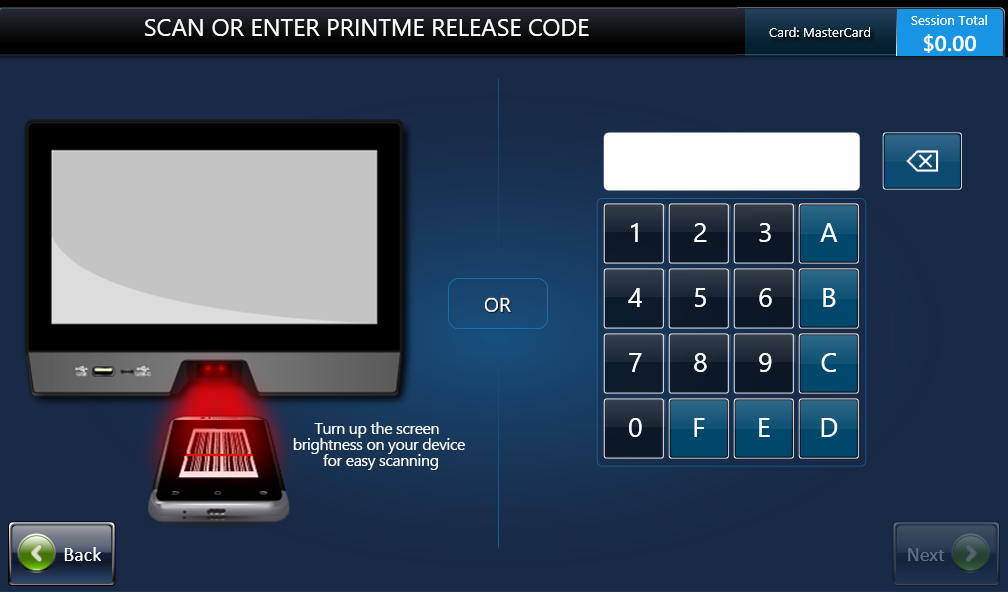
You will receive a reply email containing a barcode enabled PrintMe release code. Scan the barcode or enter the code manually

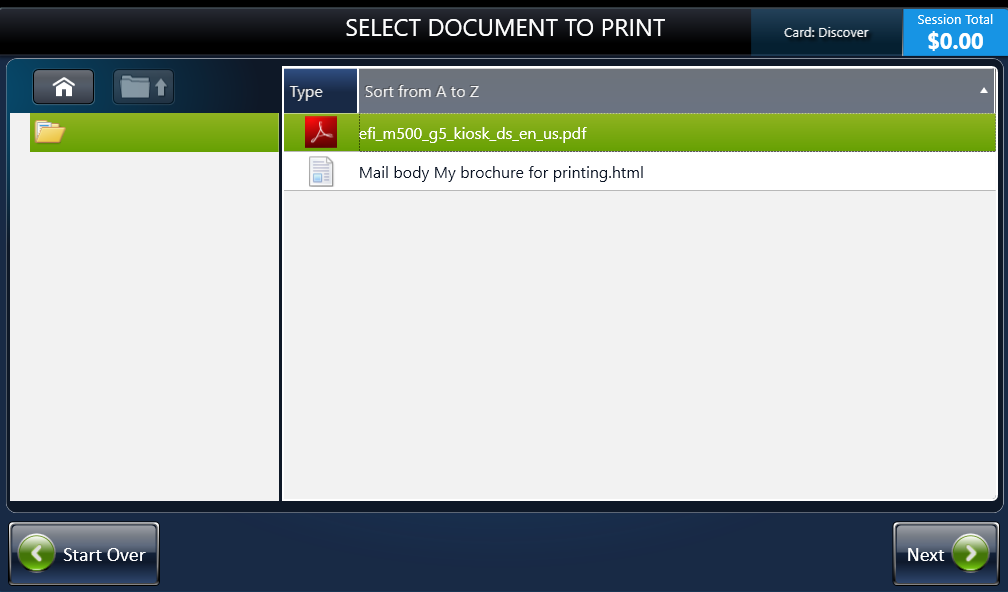
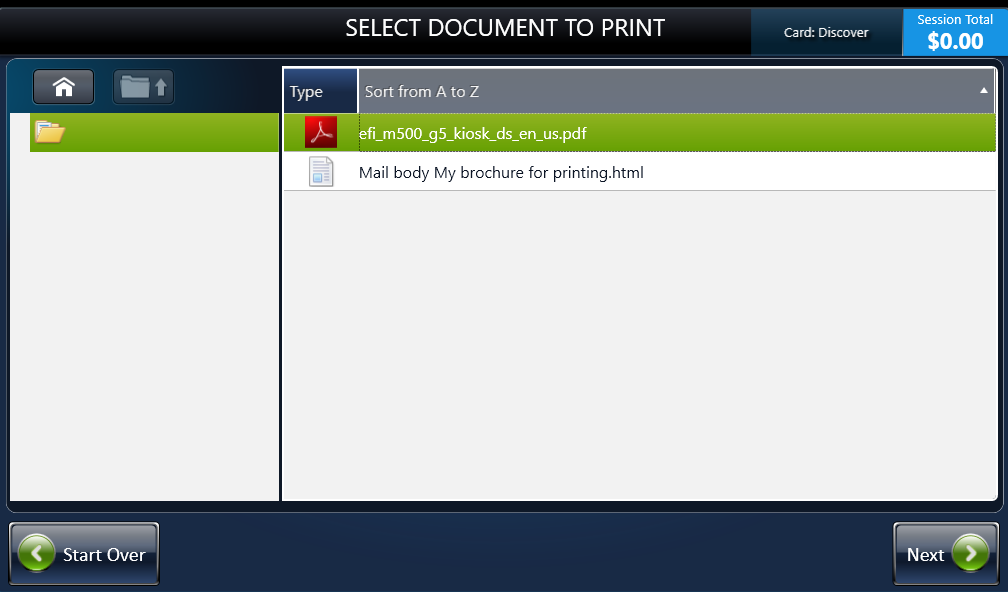
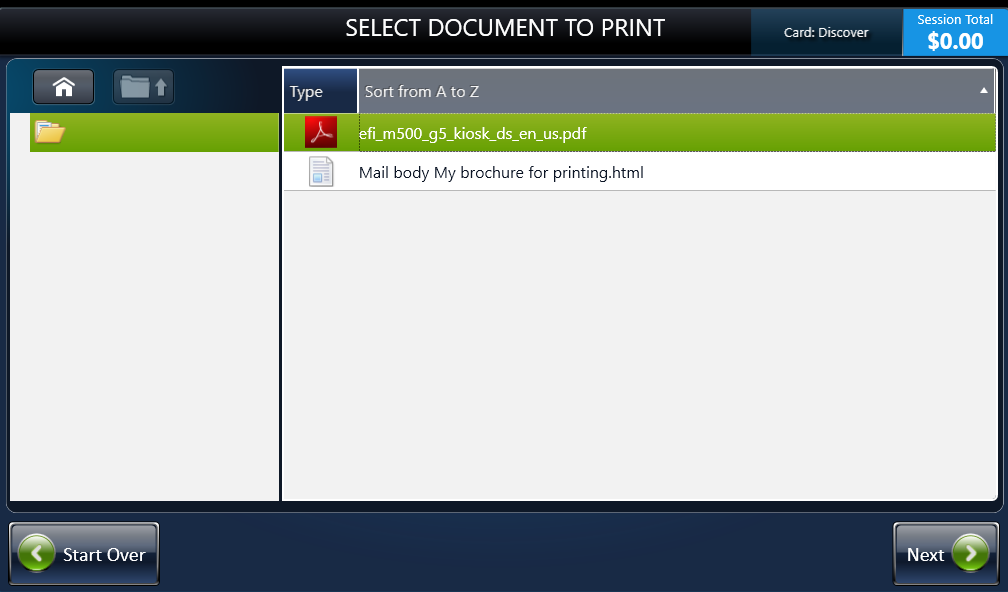
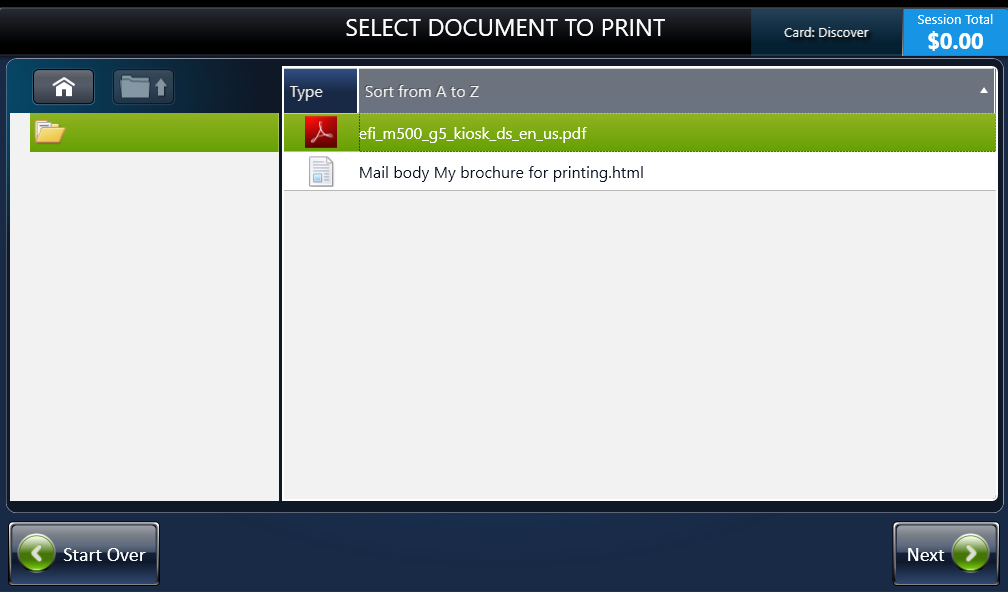
Step 5: Select the document to print

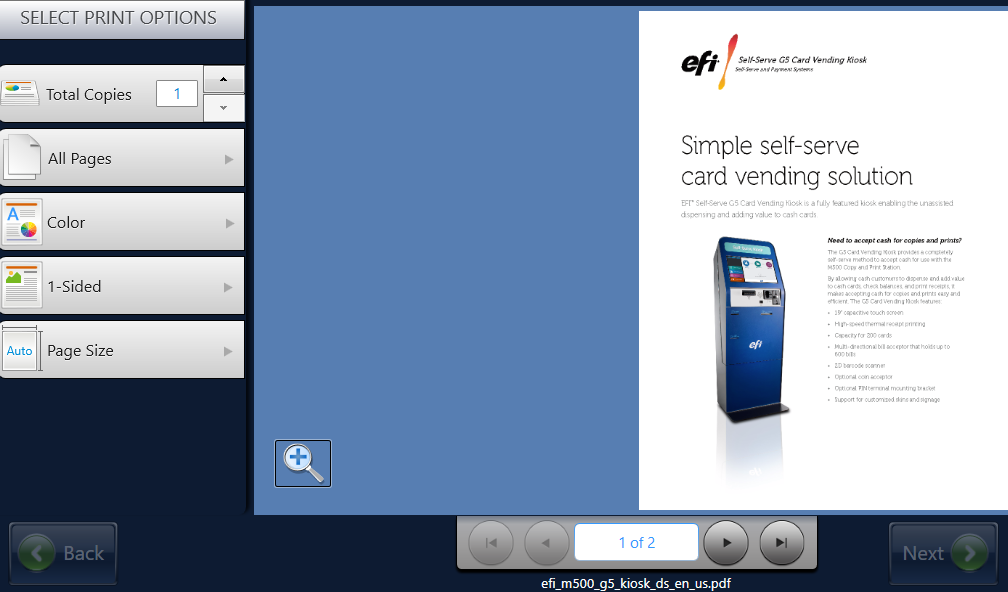
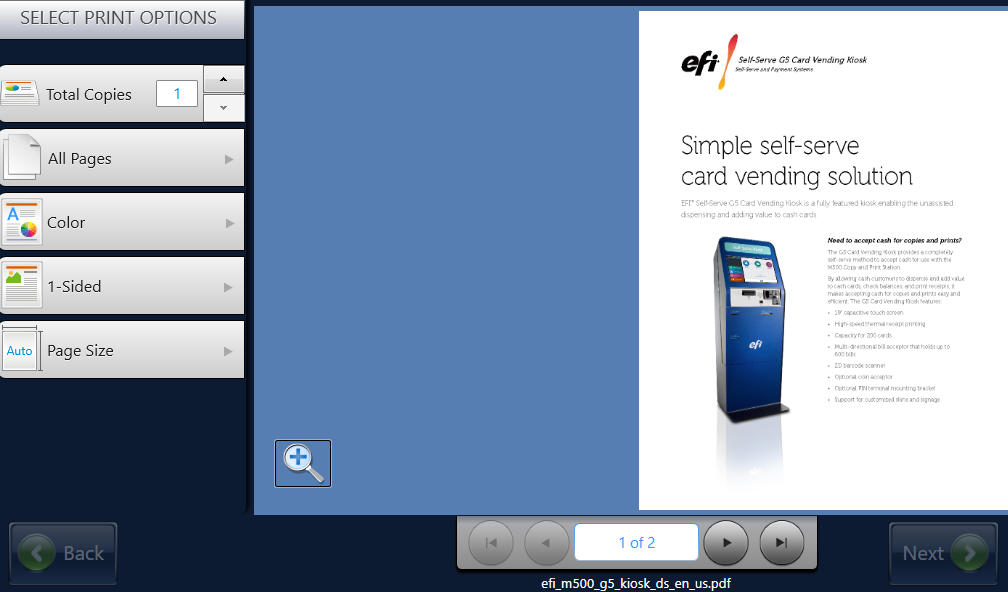
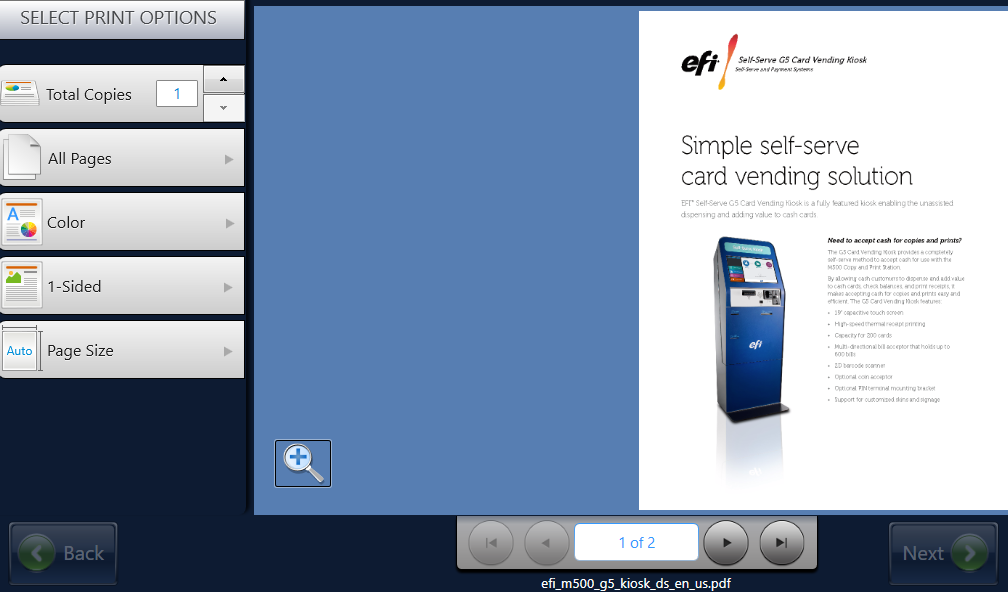
Step 6: Preview document

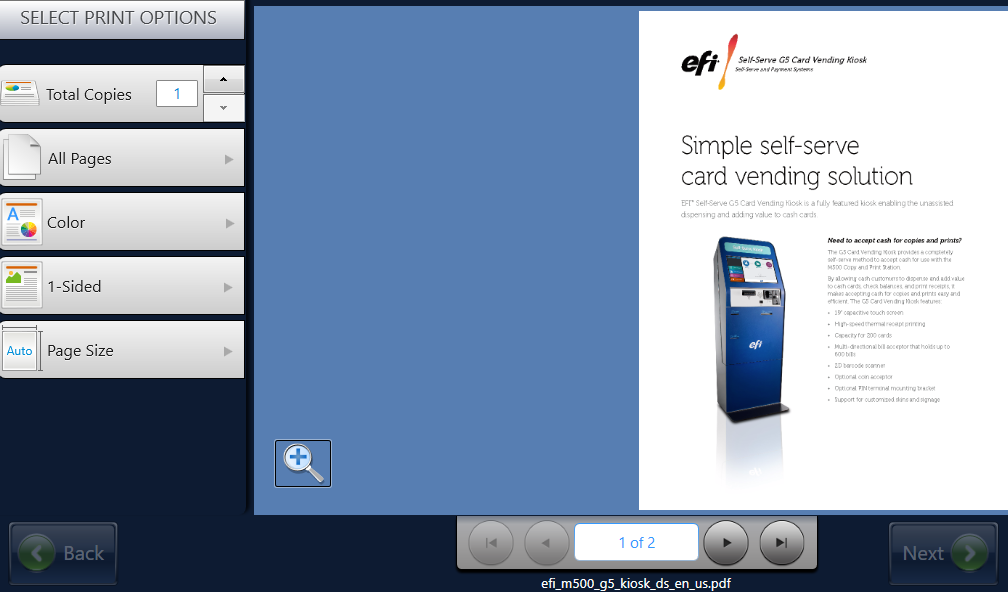
Previewing allows you to zoom in and scroll through pages.

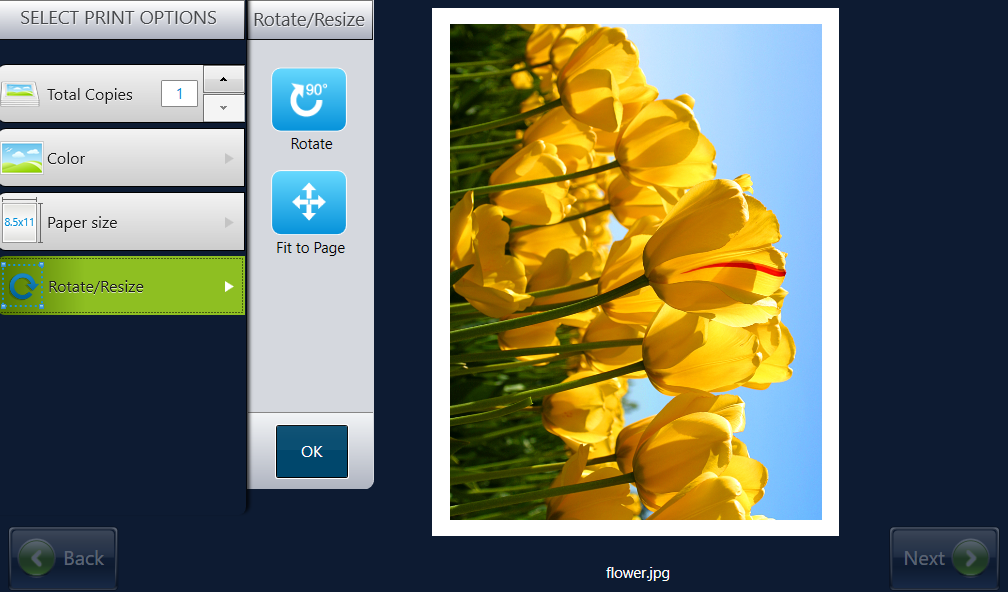
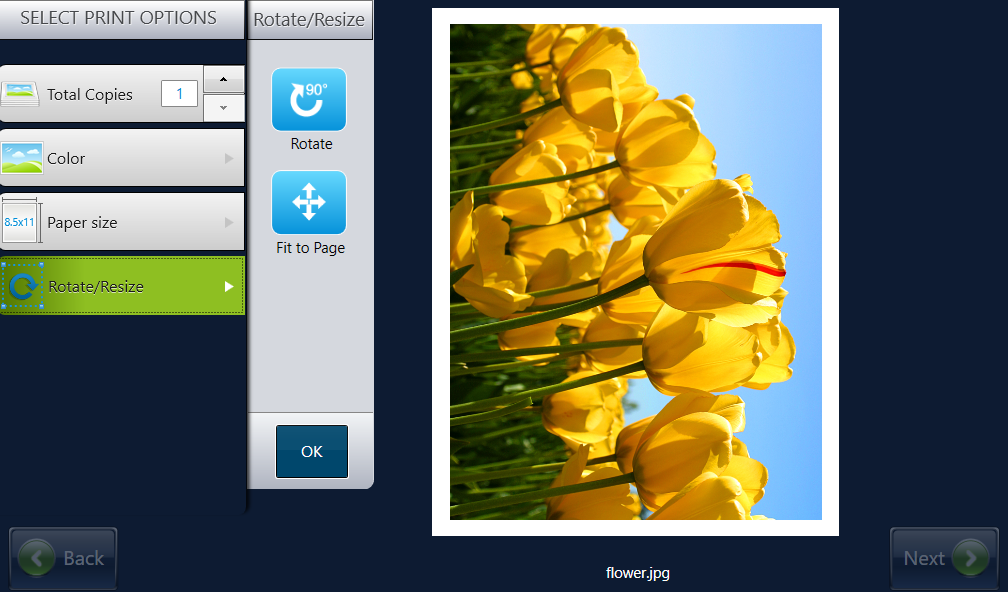
Step 7: Preview image

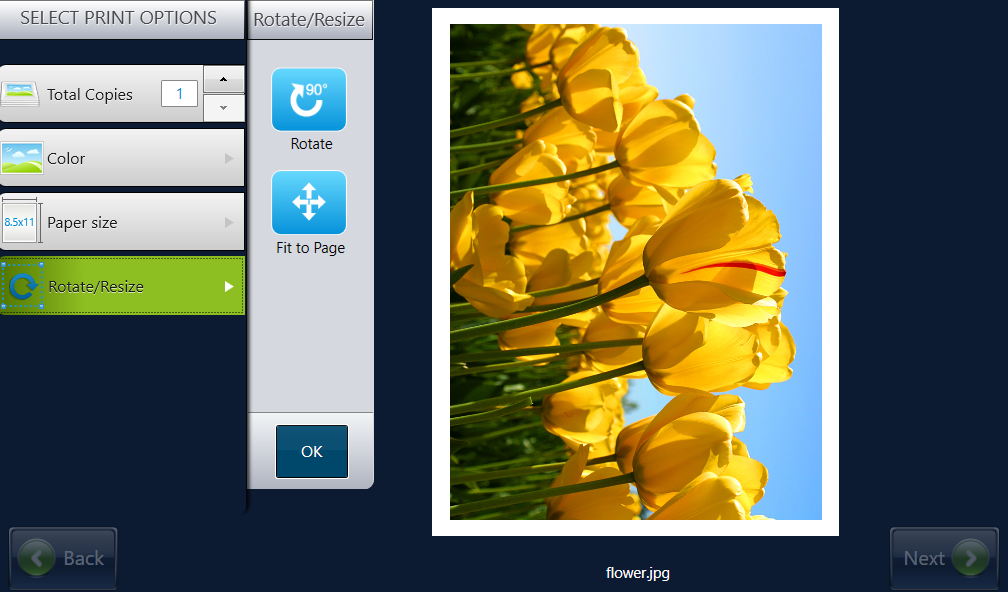
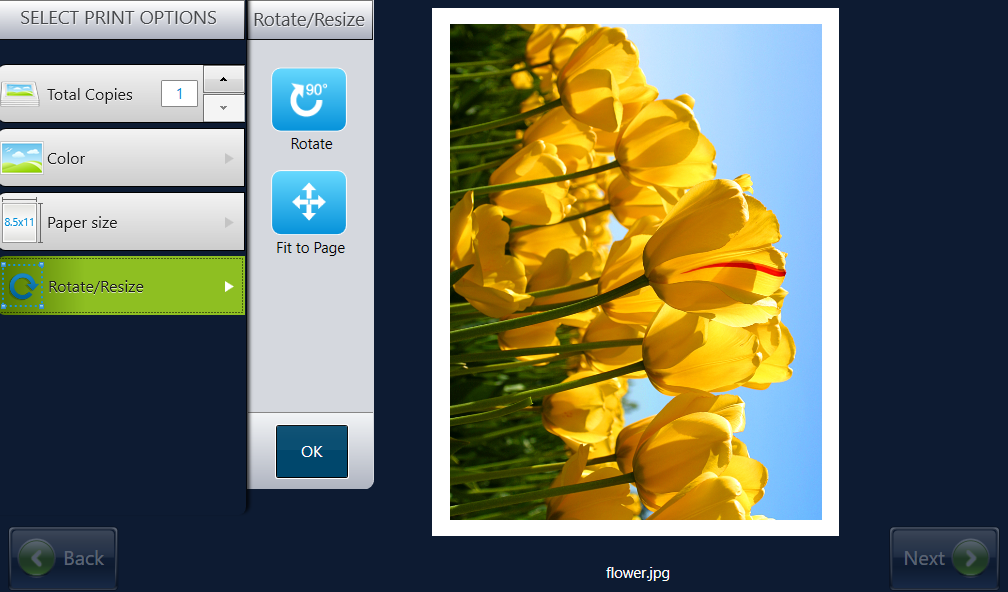
If you are printing an image file, you can preview and choose print options including paper size, rotate and enlarge to fit to page.

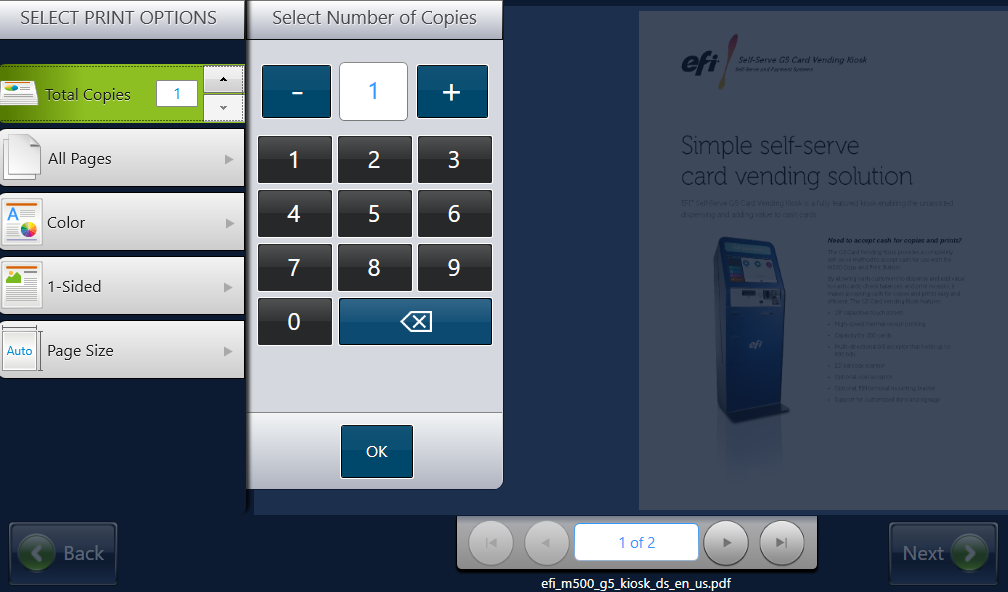
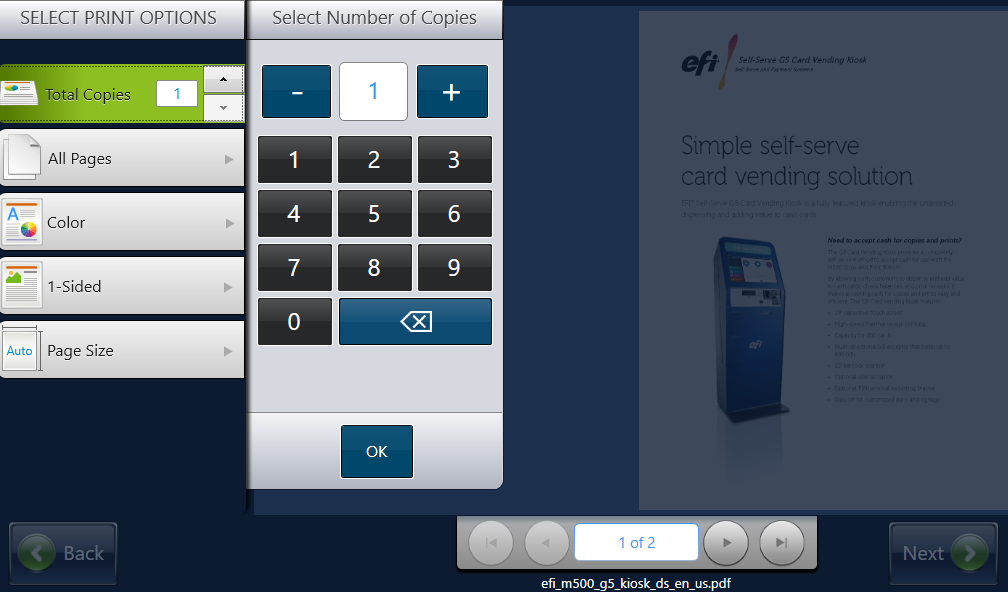
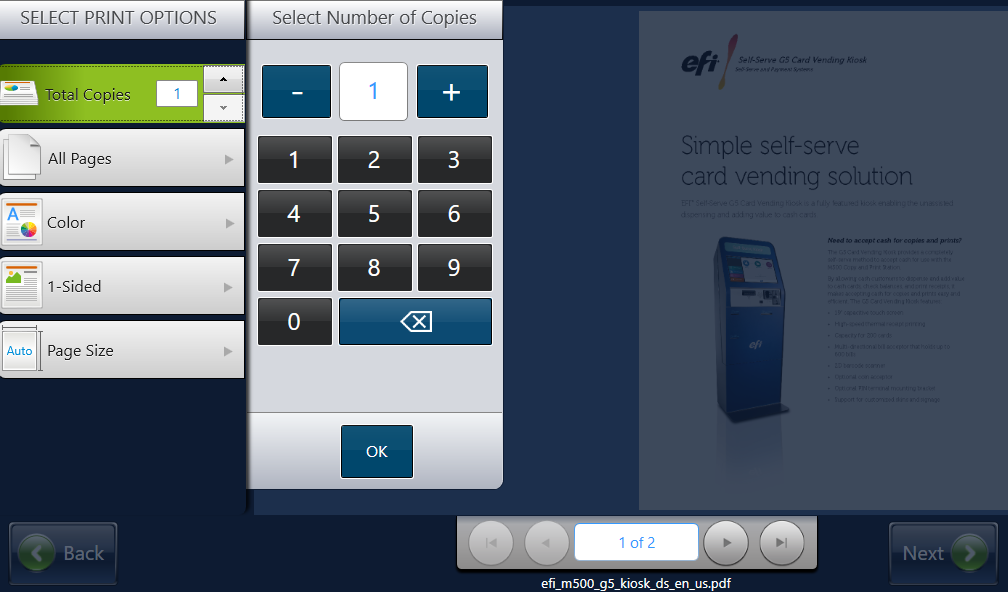
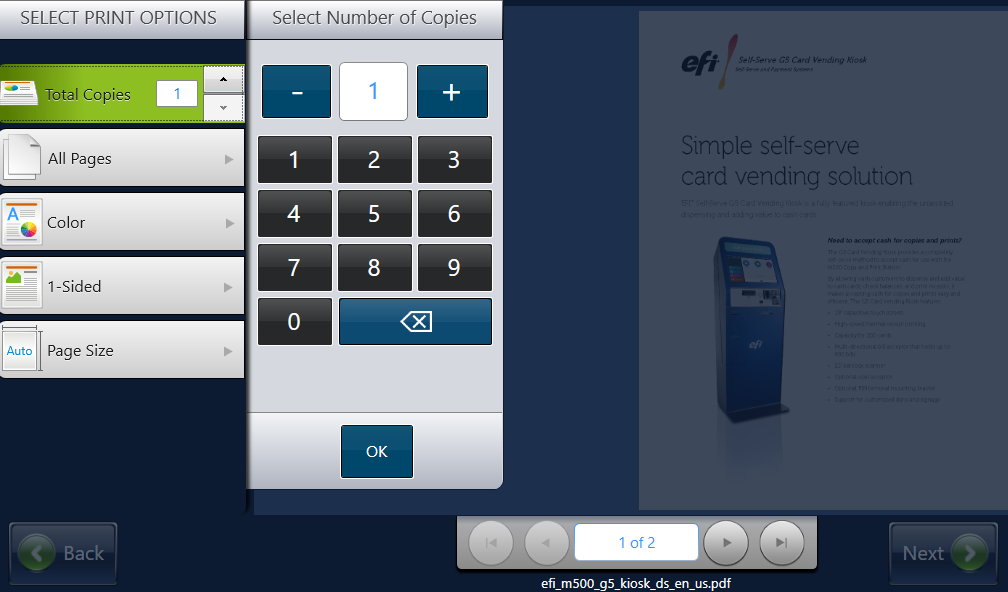
Step 8: Select the number of copies

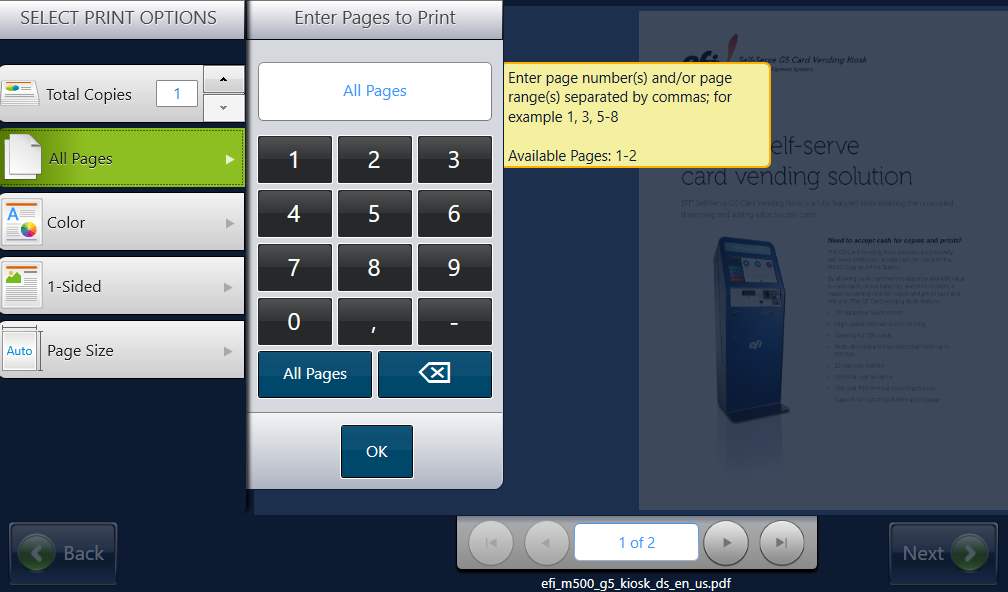
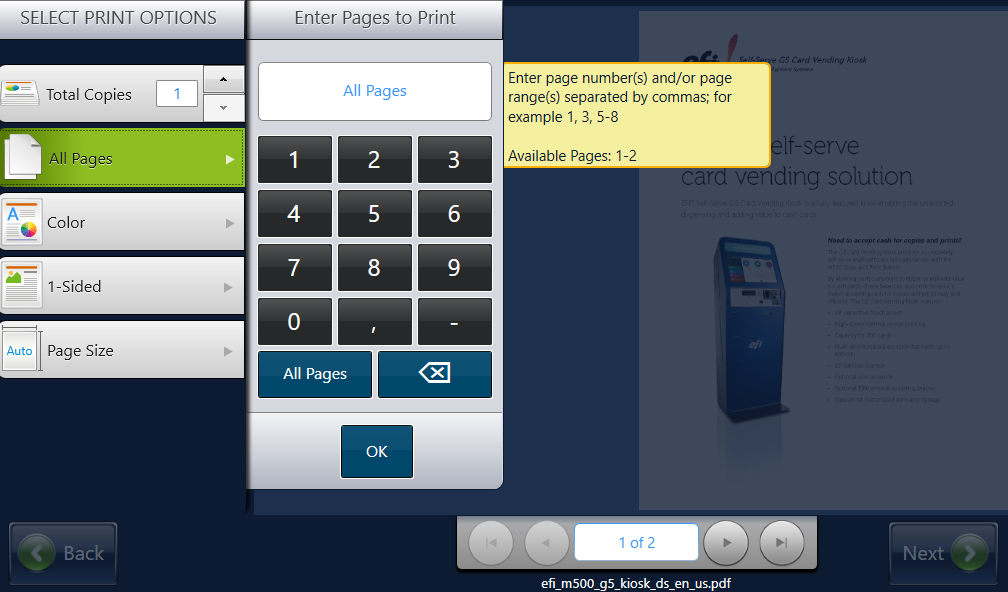
Step 9: Select pages to print

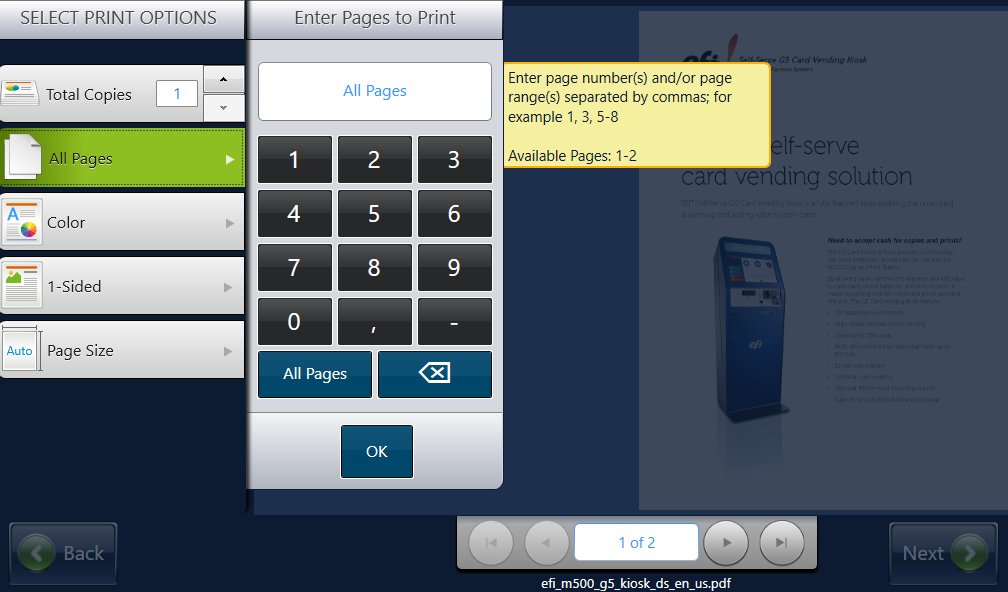
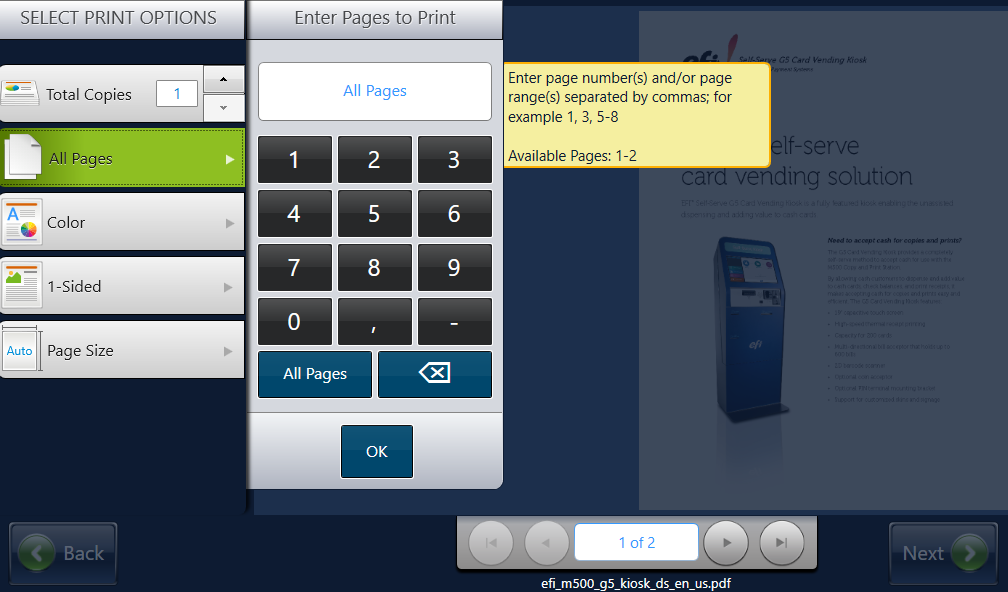
Select pages to print. You can enter complex page ranges.

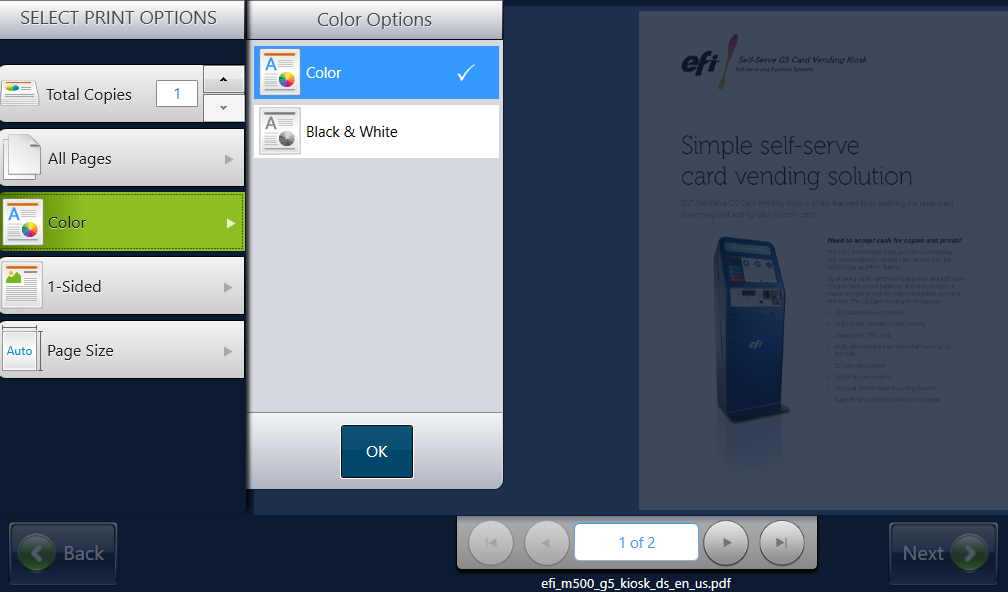
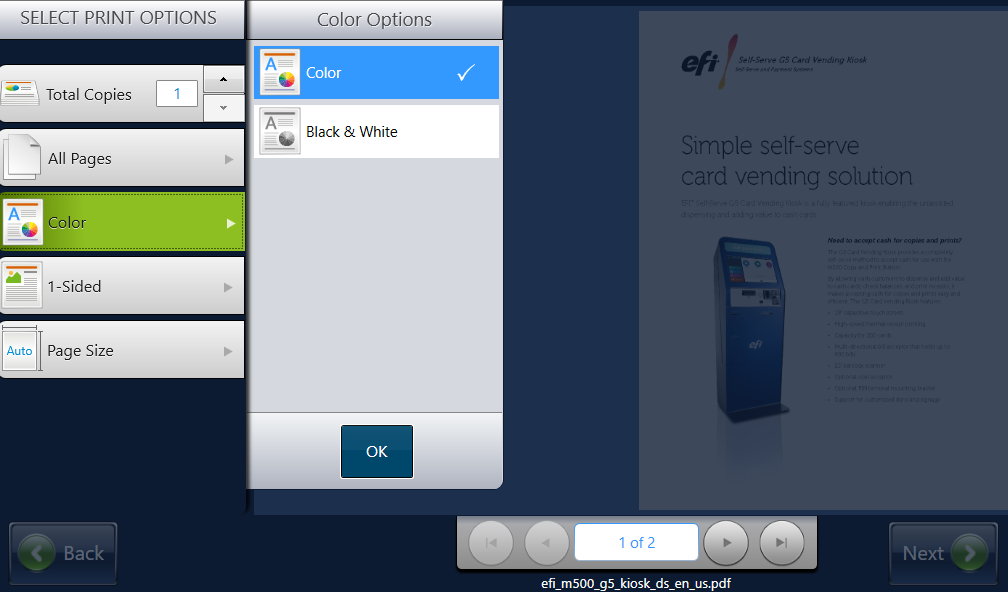
Step 10: Select colour options

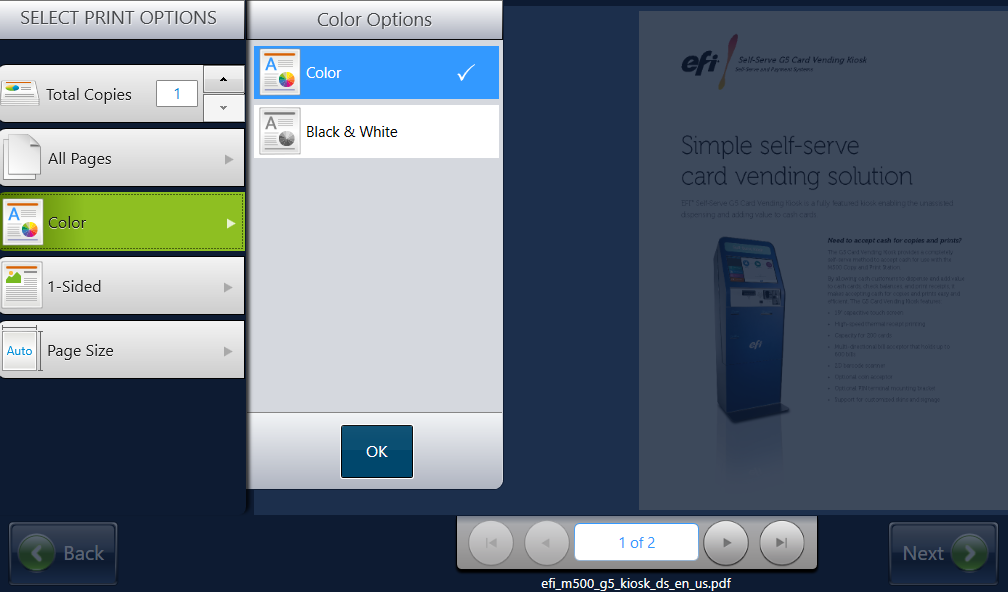
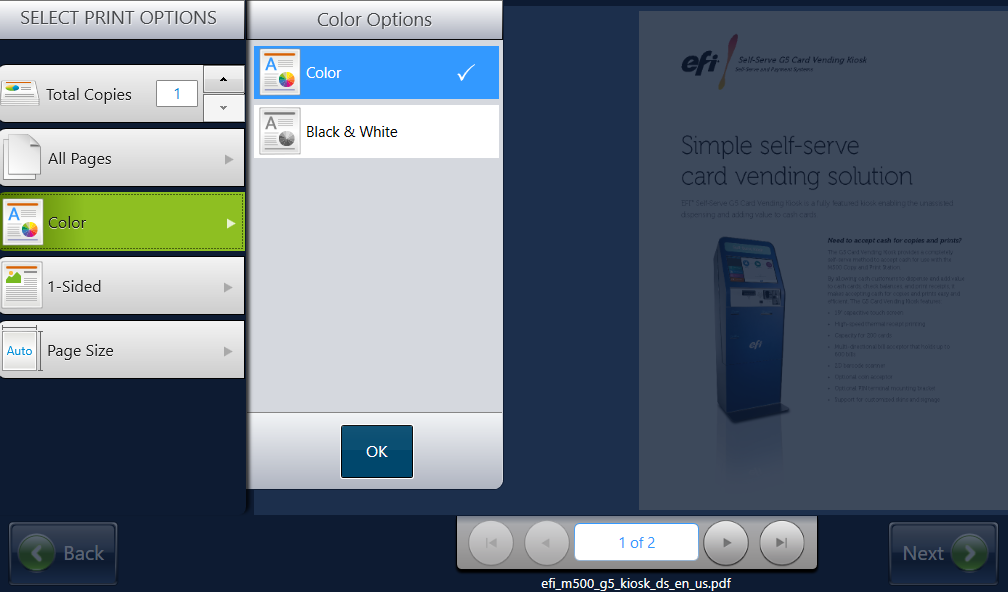
Select black and white or color.

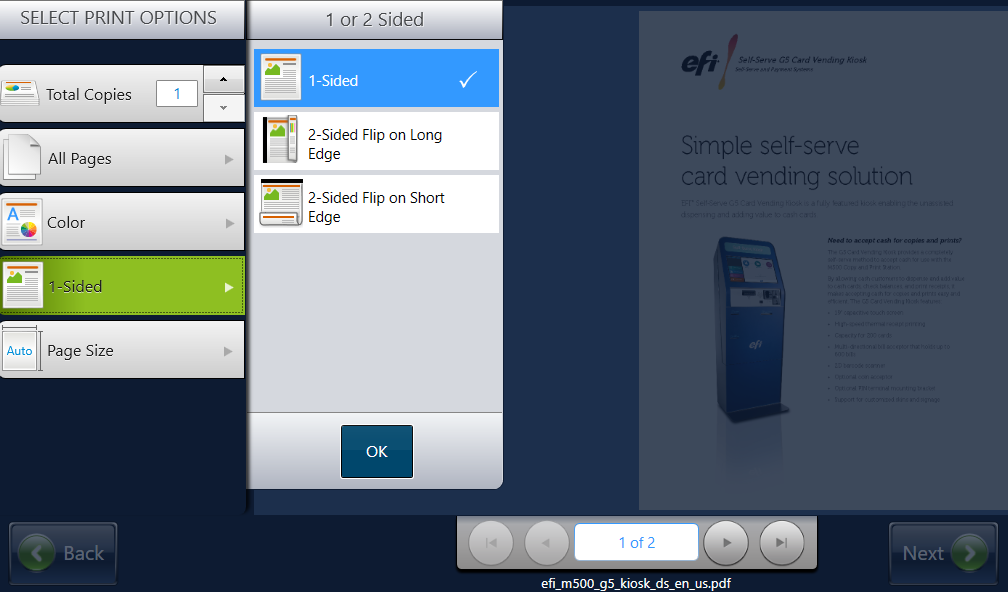
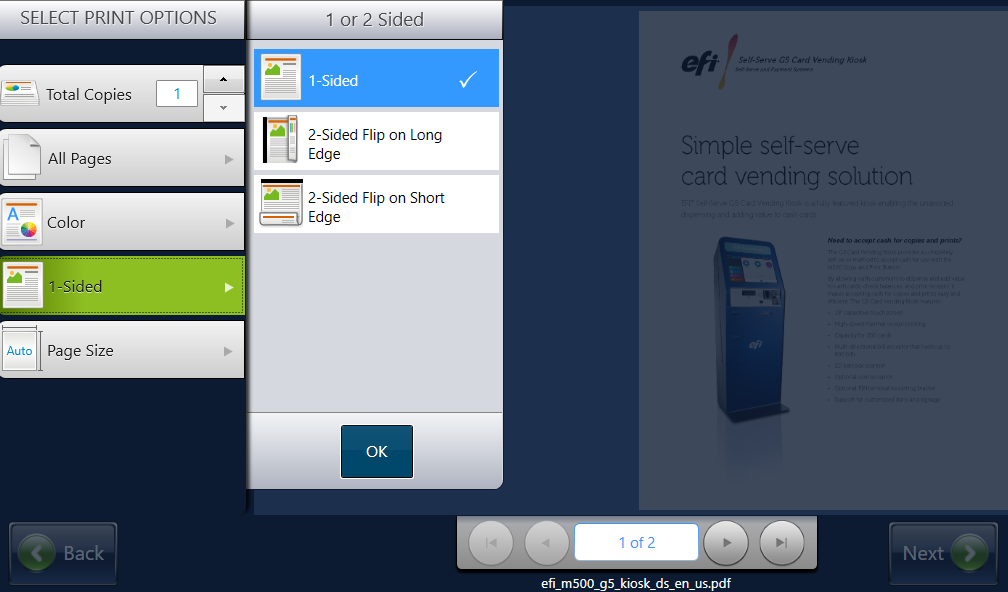
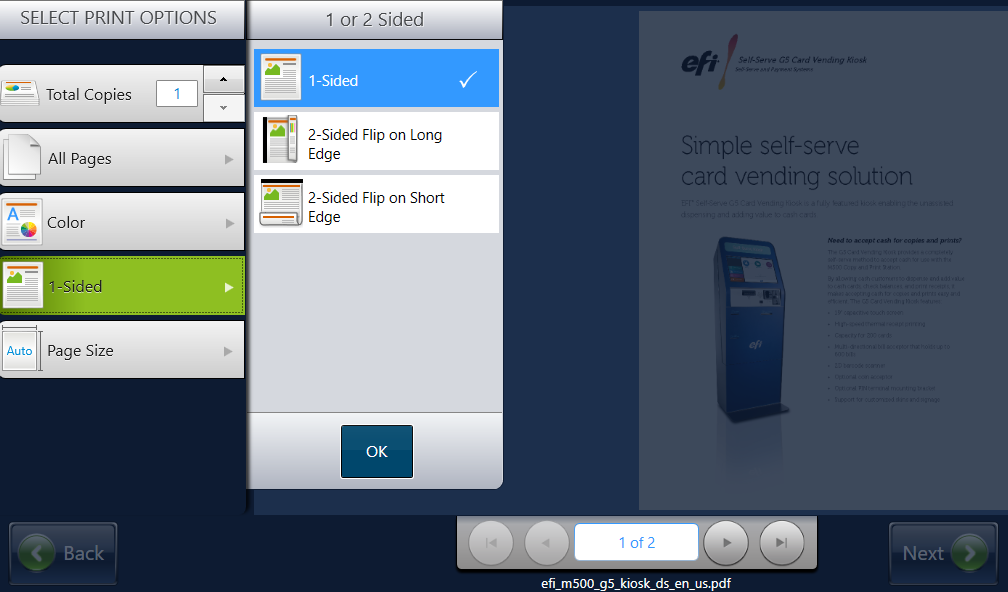
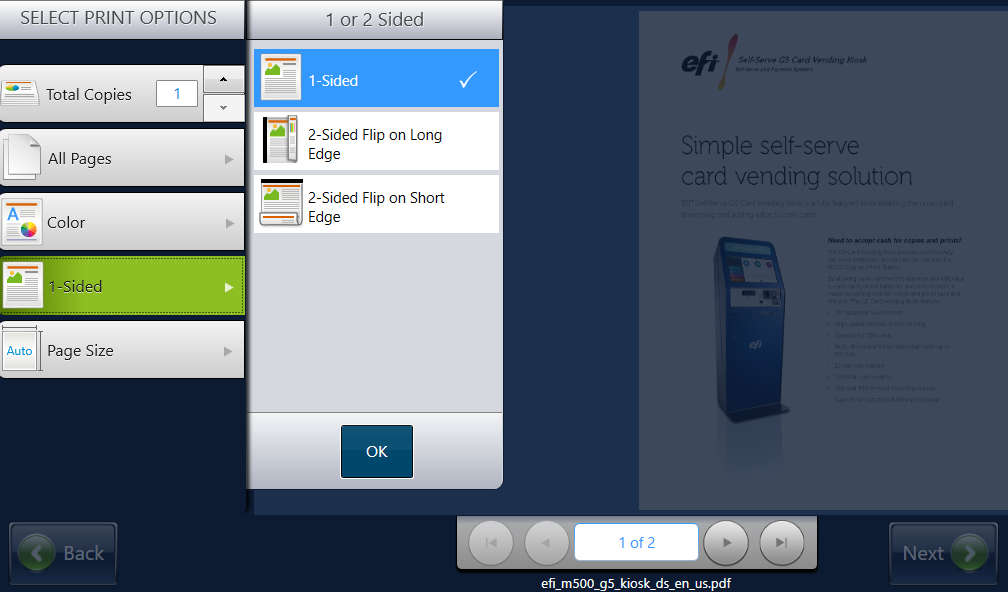
Step 11: Select single or double-sided

Select single-sided or double-sided output. Choose to flip double-sided prints on the long edge or short edge of the page.

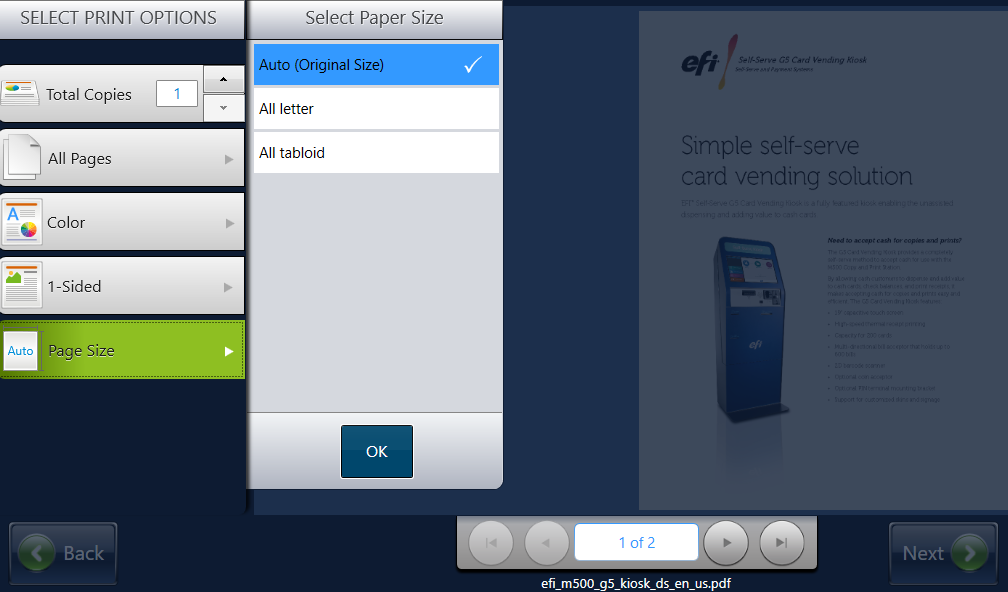
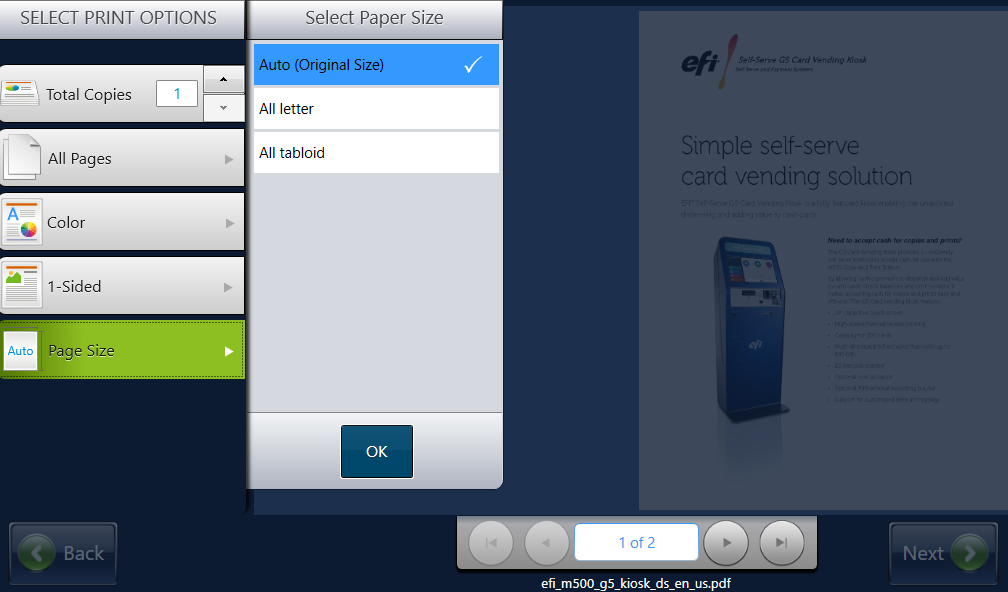
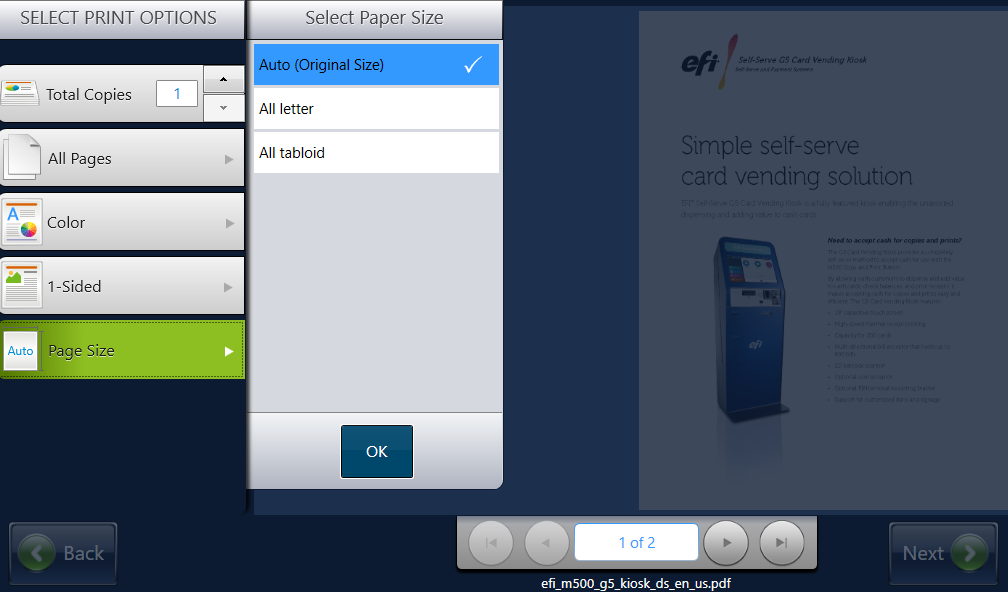
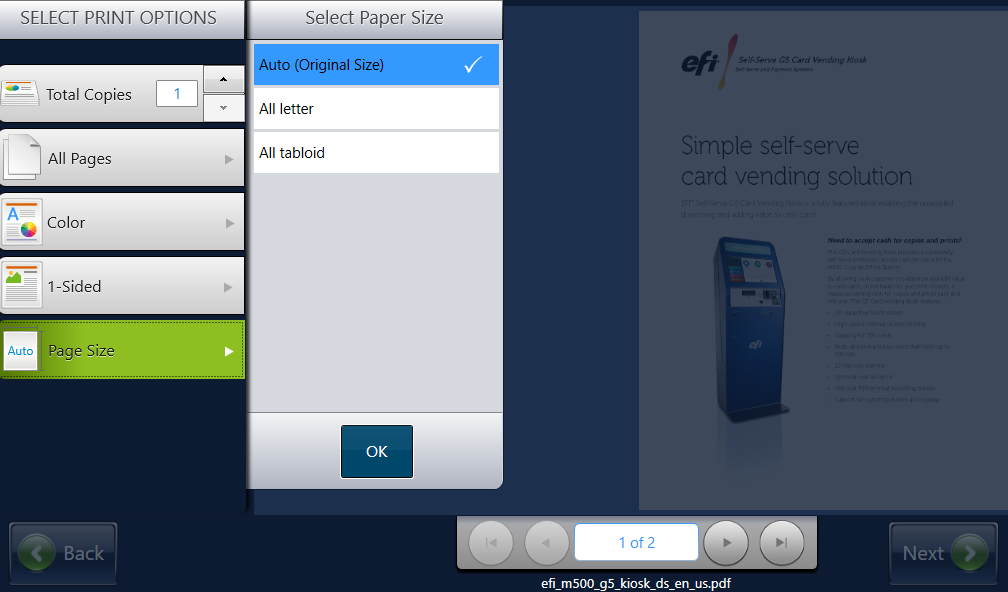
Step 12: Select page size

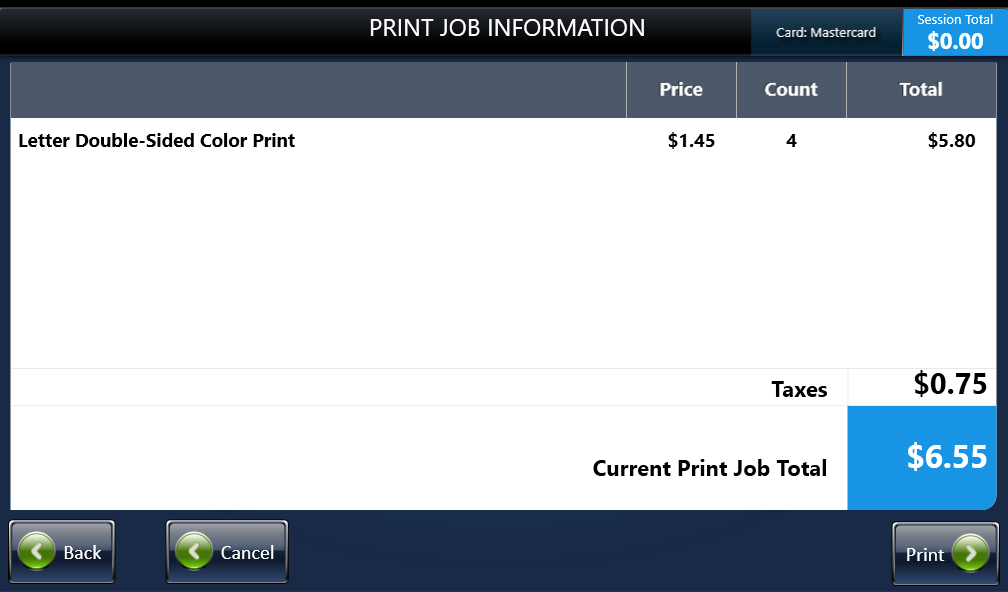
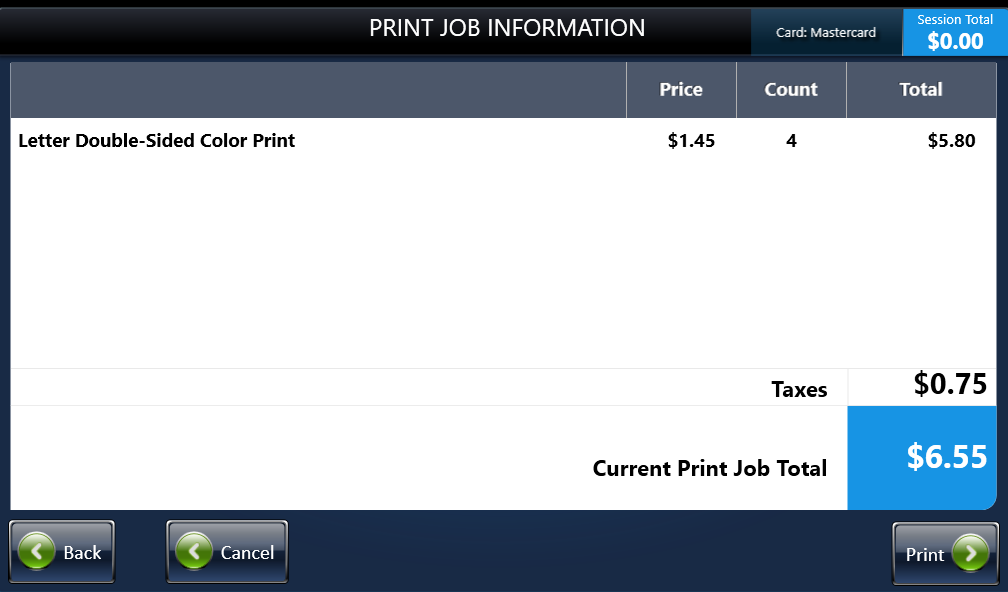
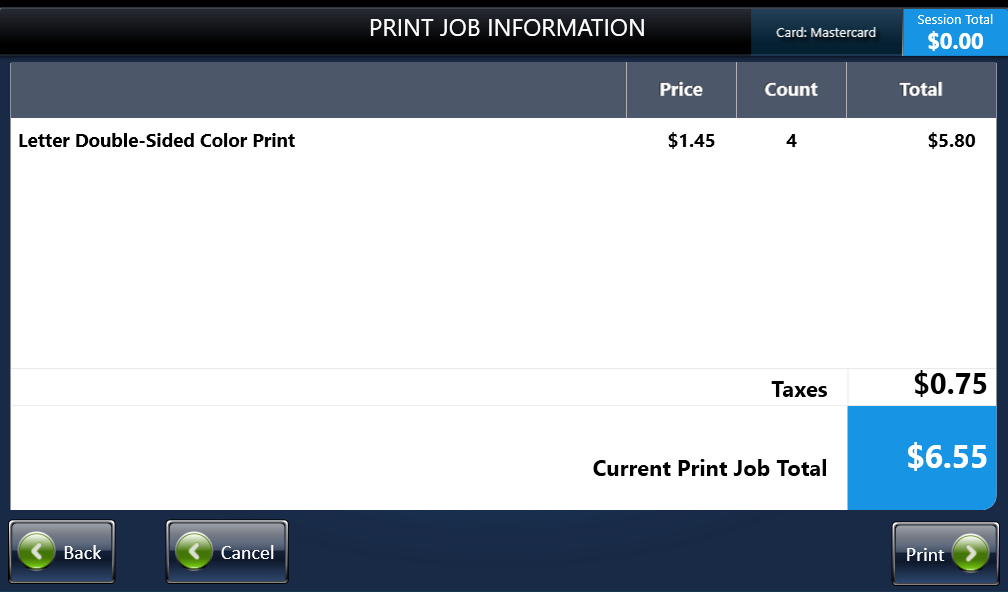
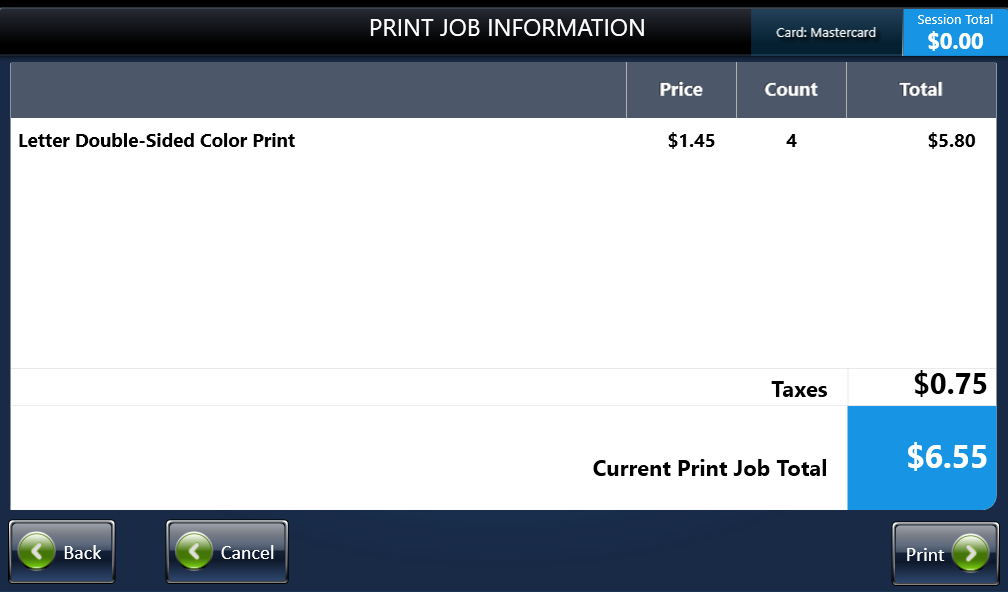
Step 13: Review the print job information

The M600 displays print cost for approval on-screen, select Print to proceed.

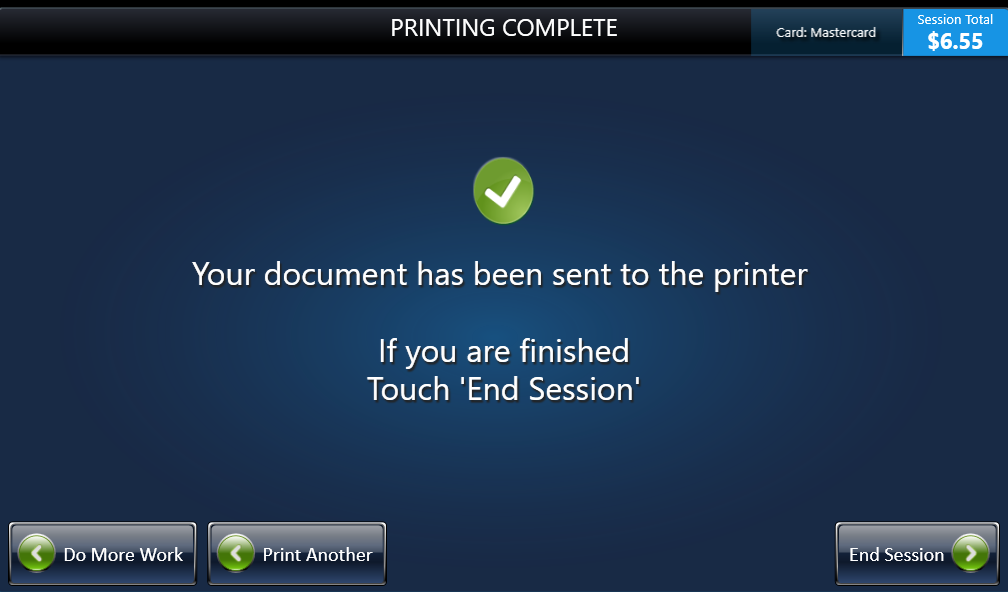
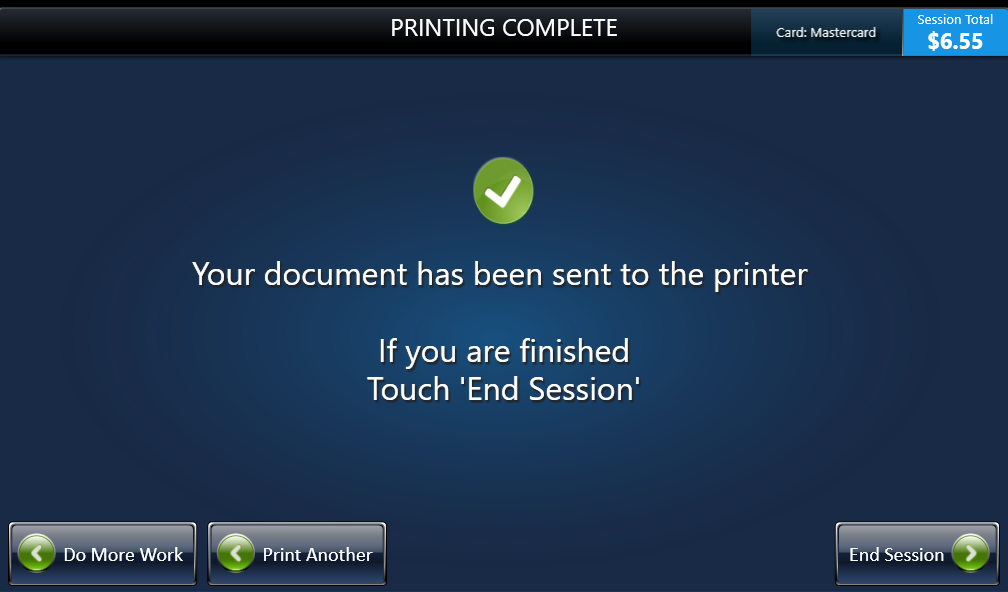
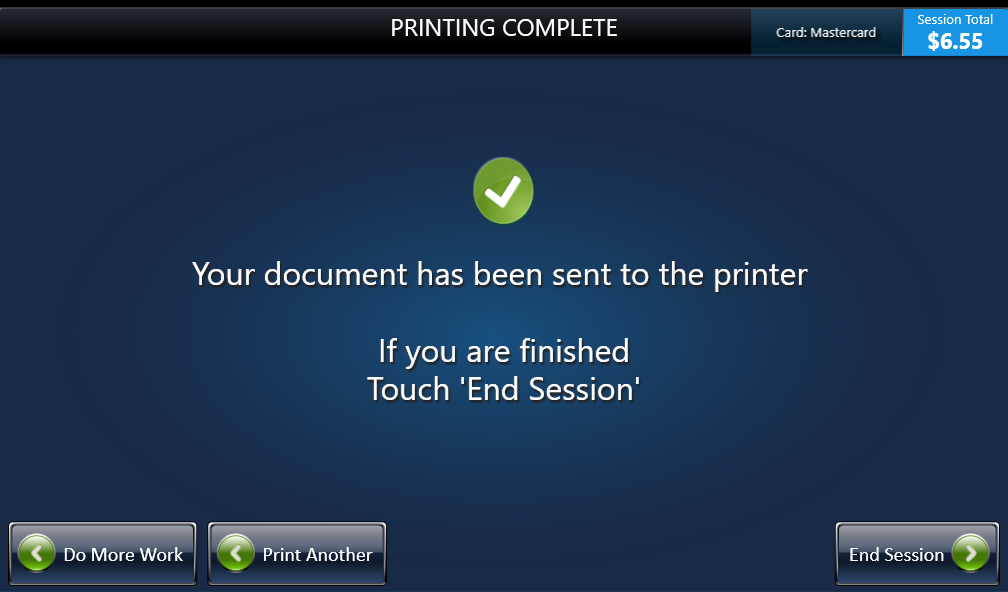
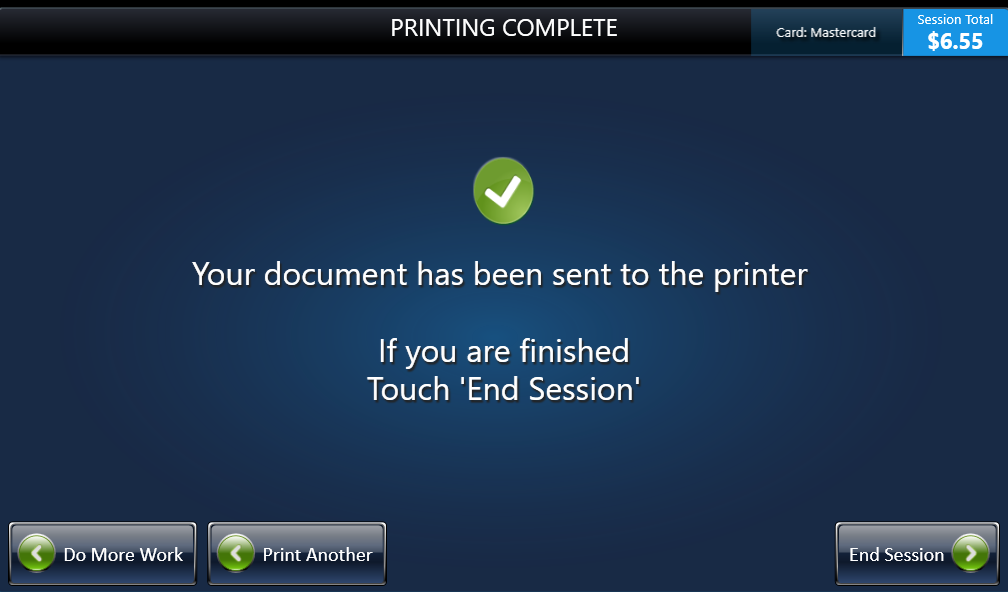
Step 14: Complete session

Your document is sent to the printer, select End Session.

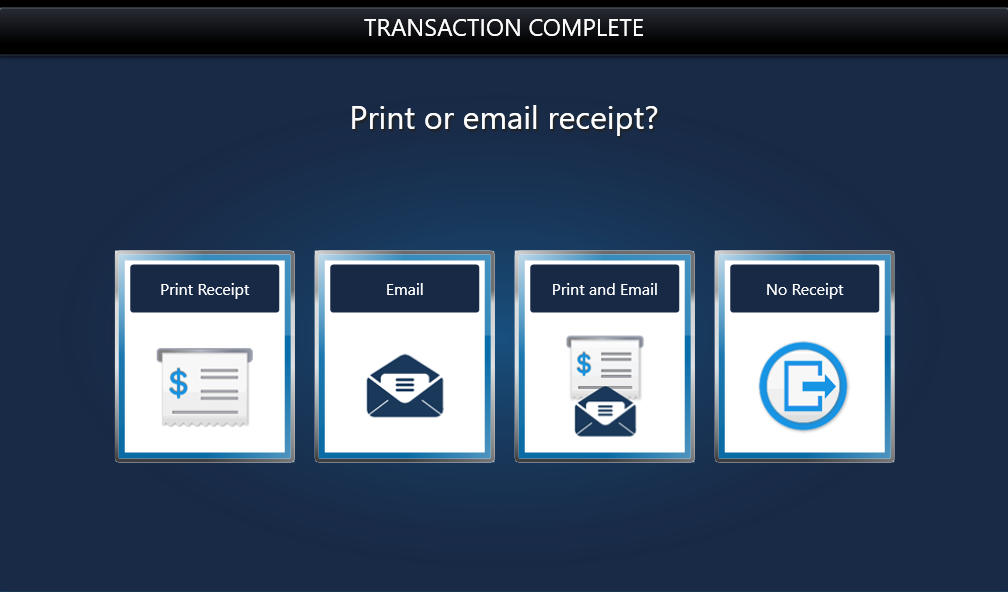
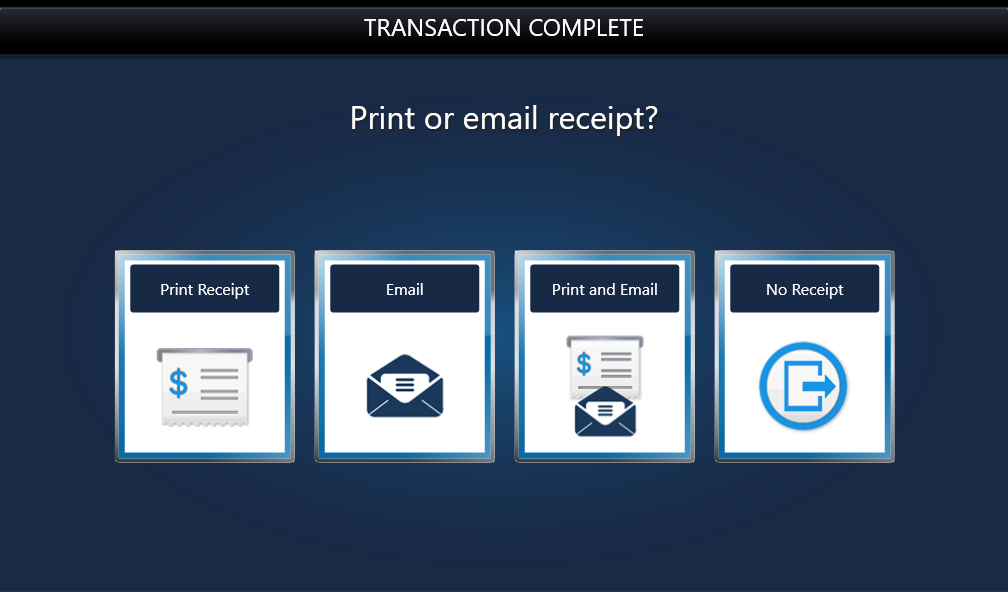
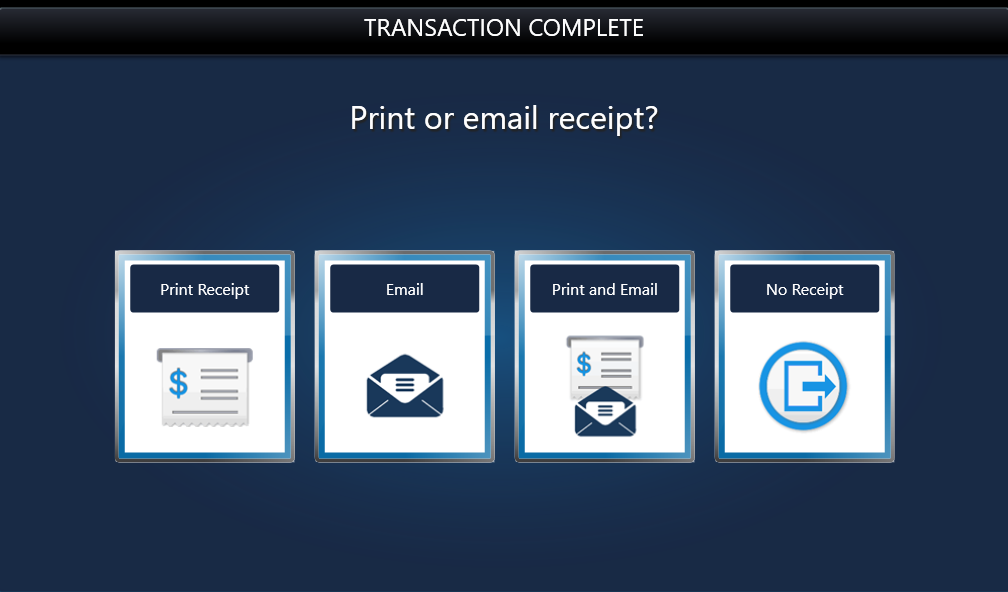
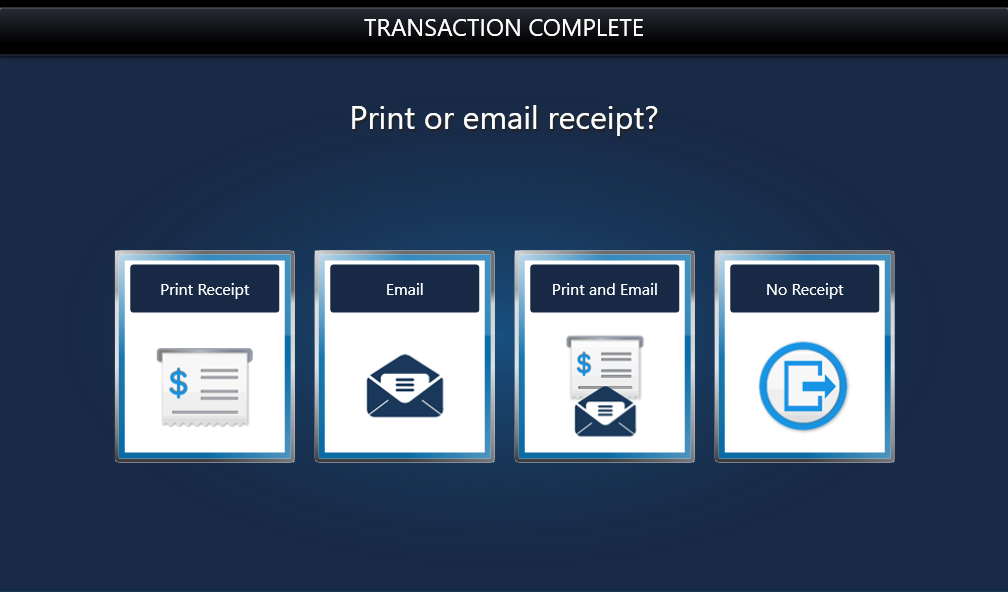
Step 15: Select receipt delivery method

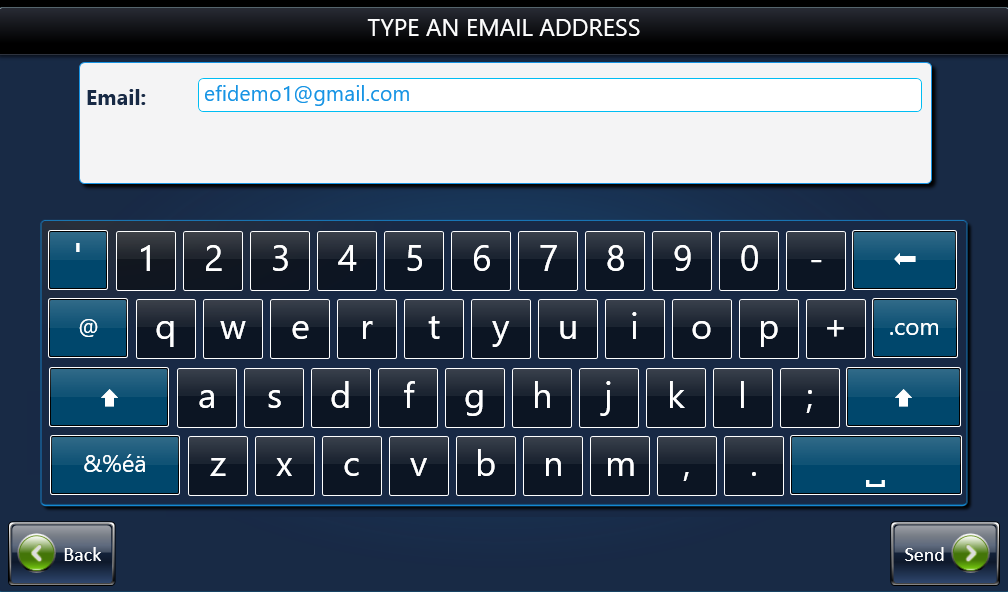
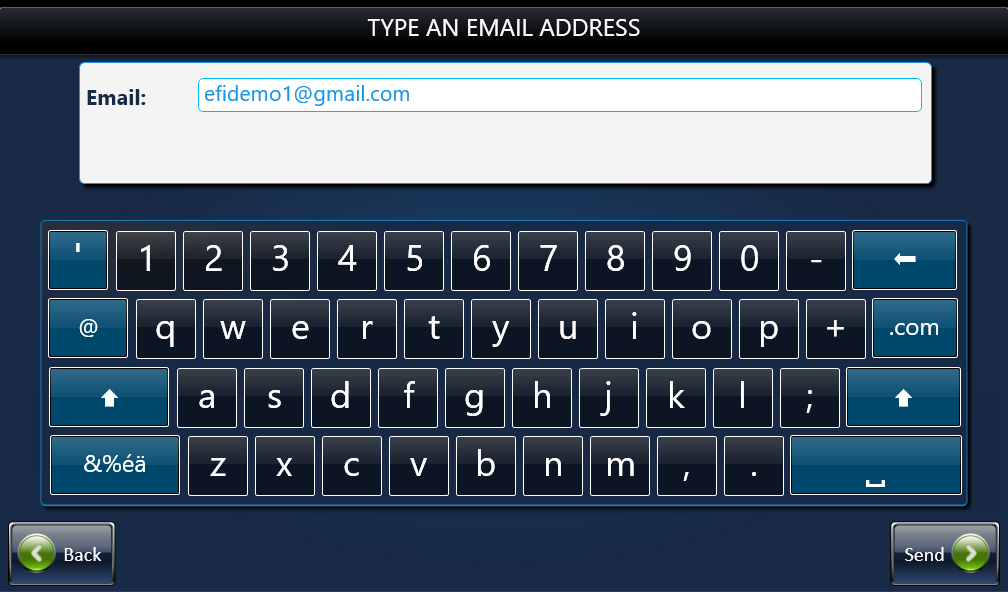
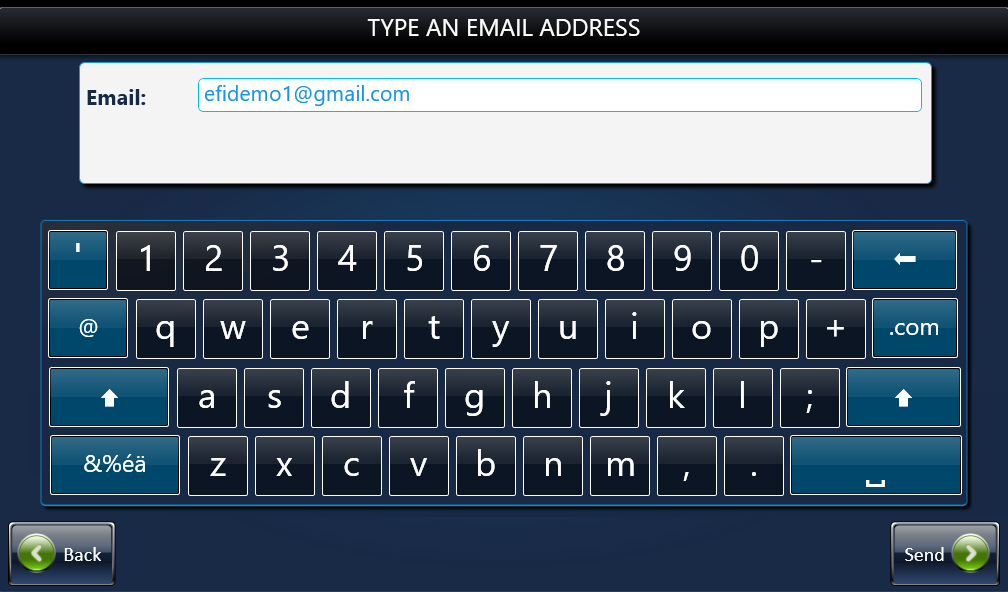
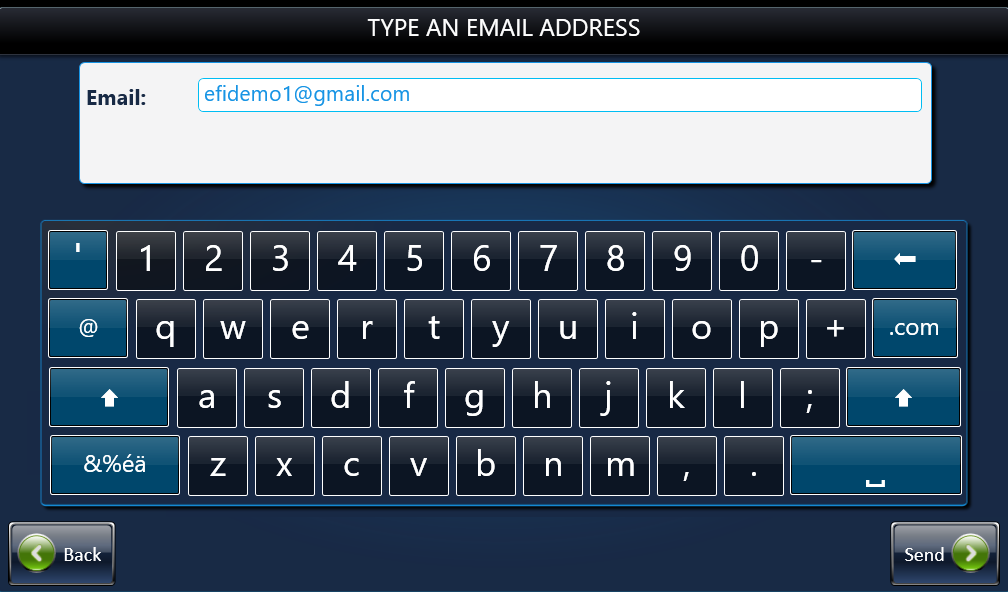
Step 16: Enter an email address for receipt

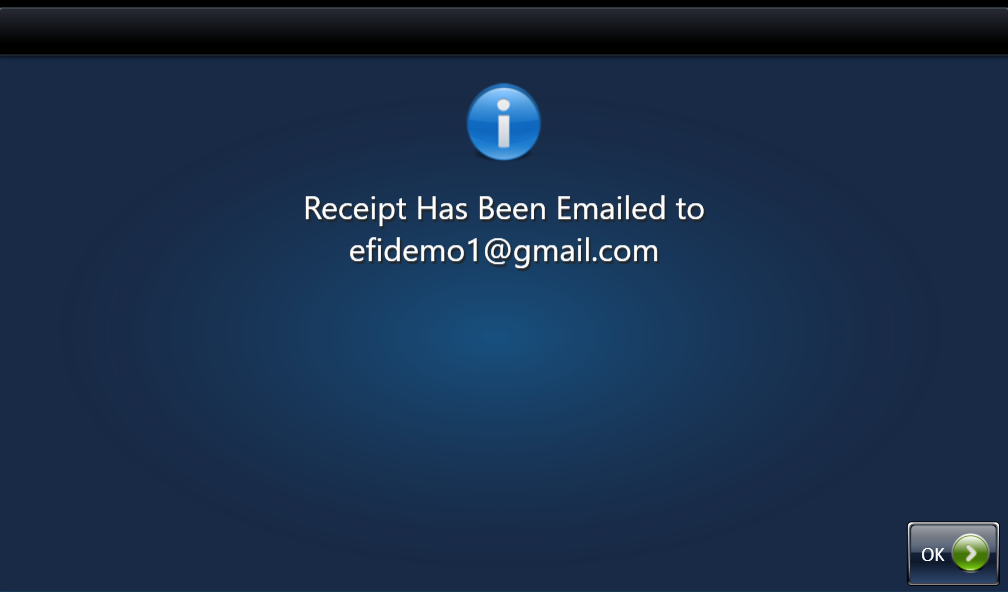
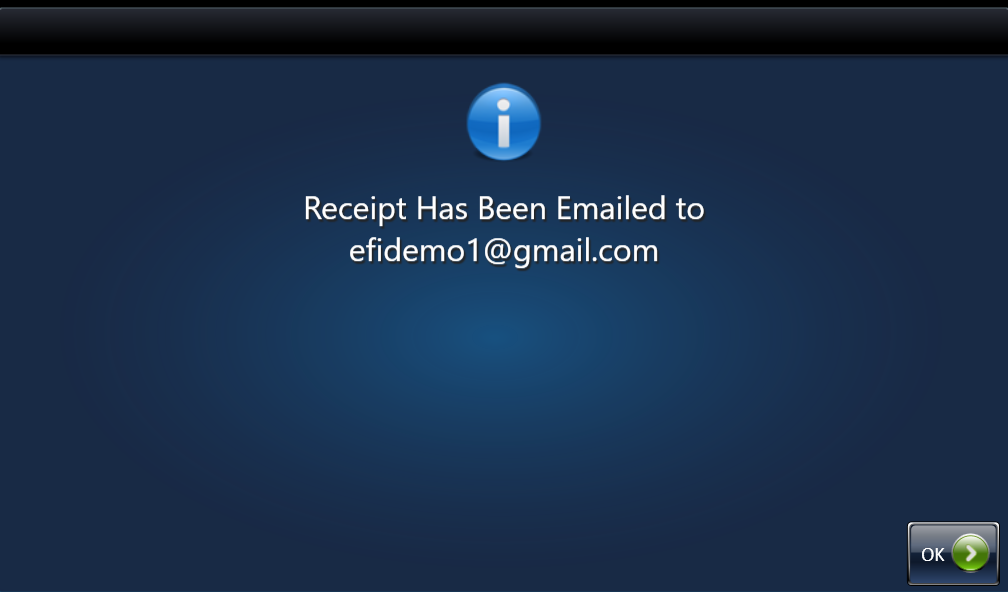
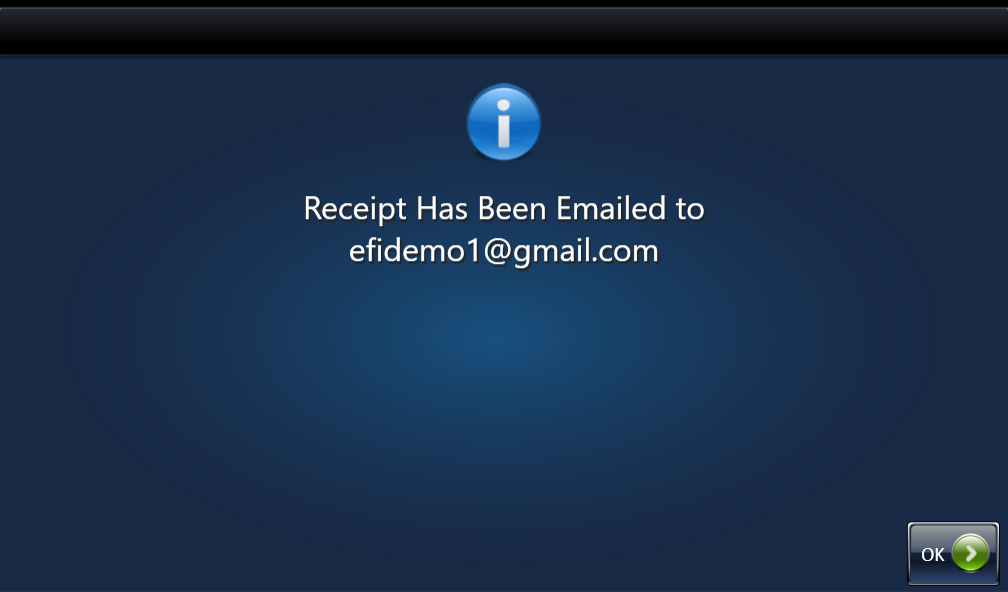
Step 17: Acknowledge email receipt

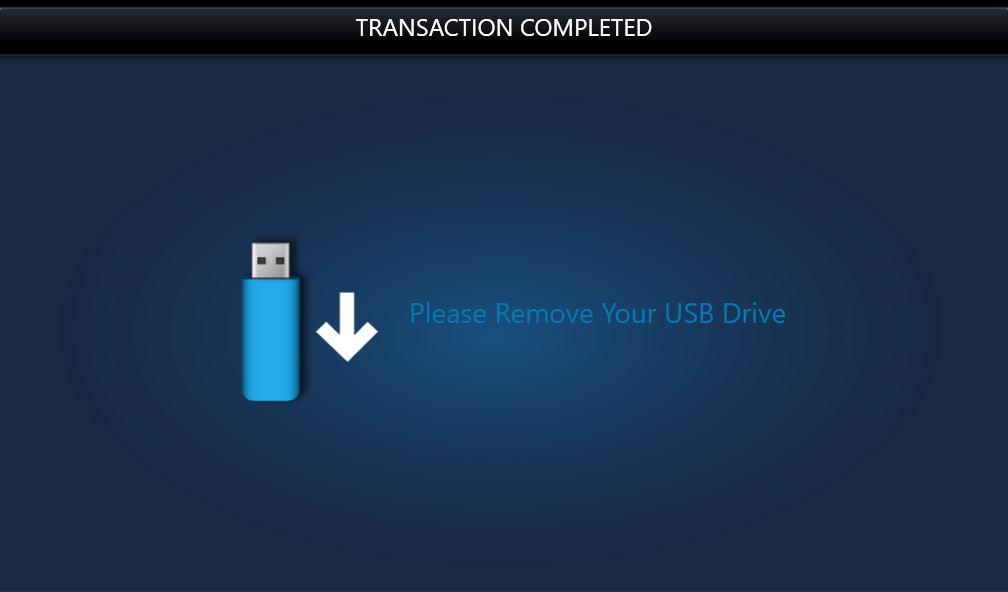
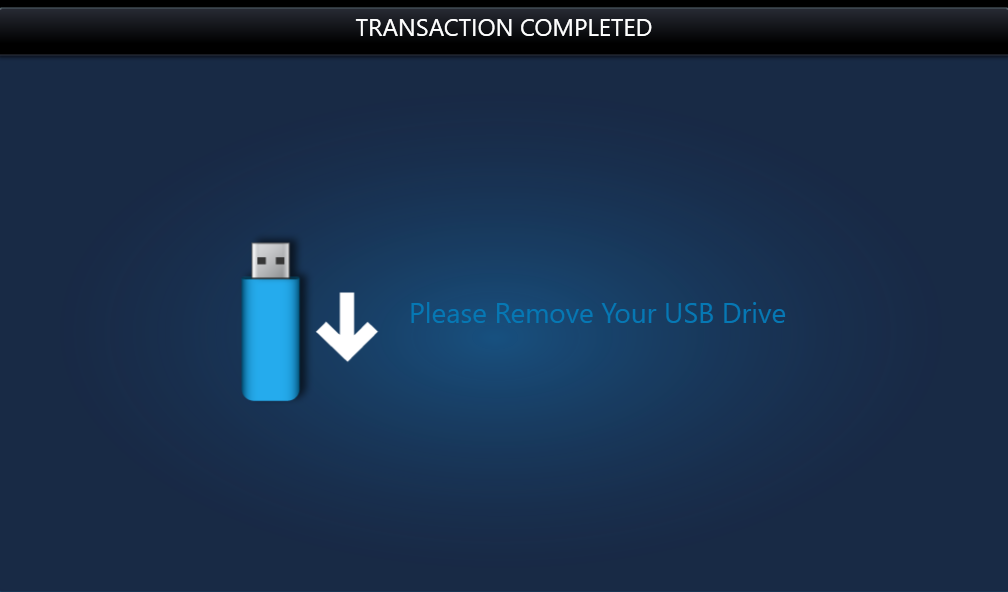
Step 18: Remove USB drive

×

Step 1: Select the service to begin

Select Print.

Step 2: Select option

Select USB.

Step 3: Authorize payment

Authorize payment on the M600 connected card reader using a credit card, campus card or cash card. Some contactless and mobile payment options are supported.

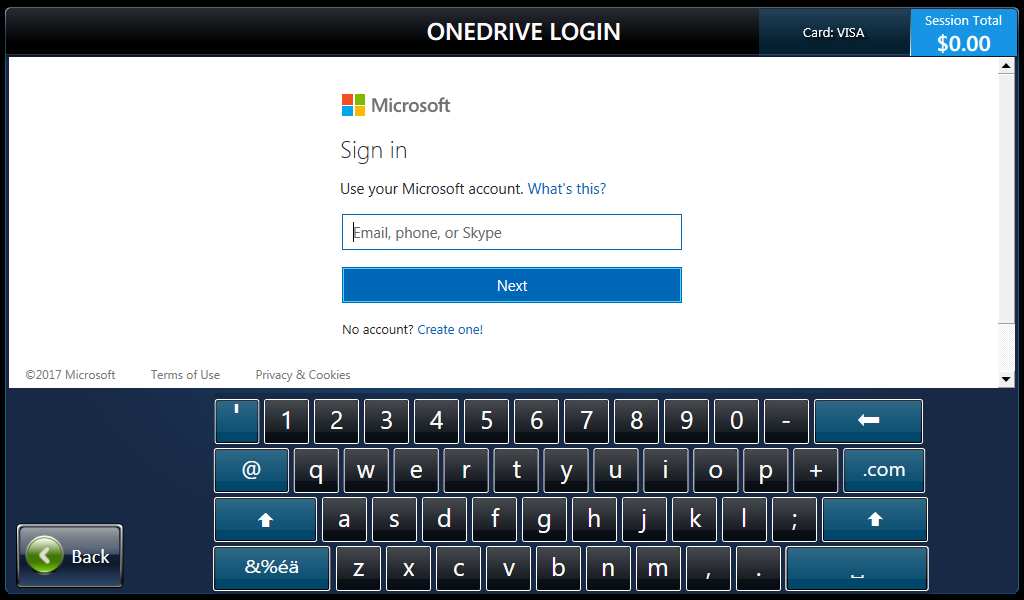
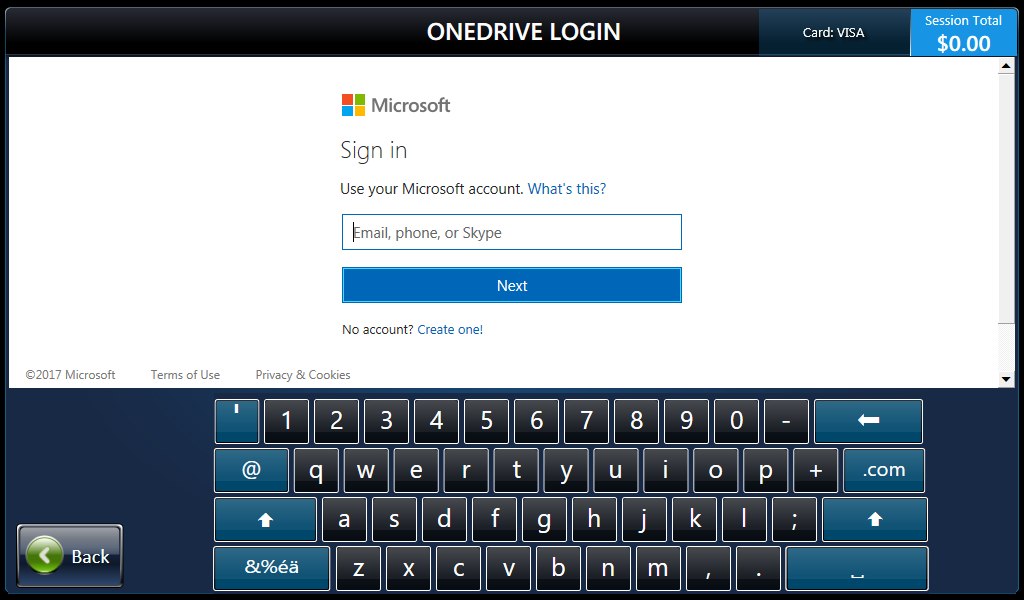
Step 4: Login to OneDrive cloud service

Step 5: Scan or enter PrintMe release code

You will receive a reply email containing a barcode enabled PrintMe release code. Scan the barcode or enter the code manually

Step 5: Select the document to print

Step 6: Preview document

Previewing allows you to zoom in and scroll through pages.

Step 7: Preview image

If you are printing an image file, you can preview and choose print options including paper size, rotate and enlarge to fit to page.

Step 8: Select the number of copies

Step 9: Select pages to print

Select pages to print. You can enter complex page ranges.

Step 10: Select colour options

Select black and white or color.

Step 11: Select single or double-sided

Select single-sided or double-sided output. Choose to flip double-sided prints on the long edge or short edge of the page.

Step 12: Select page size

Step 13: Review the print job information

The M600 displays print cost for approval on-screen, select Print to proceed.

Step 14: Complete session

Your document is sent to the printer, select End Session.

Step 15: Select receipt delivery method

Step 16: Enter an email address for receipt

Step 17: Acknowledge email receipt

×

Step 1: Select the service to begin

Select Print.

Step 2: Select option

Select USB.

Step 3: Authorize payment

Authorize payment on the M600 connected card reader using a credit card, campus card or cash card. Some contactless and mobile payment options are supported.

Step 4: Login to OneDrive cloud service

Step 5: Select the document to print

Step 6: Preview document

Previewing allows you to zoom in and scroll through pages.

Step 7: Preview image

If you are printing an image file, you can preview and choose print options including paper size, rotate and enlarge to fit to page.

Step 8: Select the number of copies

Step 9: Select pages to print

Select pages to print. You can enter complex page ranges.

Step 10: Select colour options

Select black and white or color.

Step 11: Select single or double-sided

Select single-sided or double-sided output. Choose to flip double-sided prints on the long edge or short edge of the page.

Step 12: Select page size

Step 13: Review the print job information

The M600 displays print cost for approval on-screen, select Print to proceed.

Step 14: Complete session

Your document is sent to the printer, select End Session.

Step 15: Select receipt delivery method

Step 16: Enter an email address for receipt

Step 17: Acknowledge email receipt

Features

Check out screenshot tours of M600 Copy and Print Station
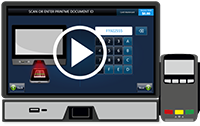
m600 print

Print from mobile devices

  • Email files to print@printme.com or use PrintMe® Cloud apps on your mobile devices to receive a unique release code or barcode.
  • Scan or enter the code when ready to print.
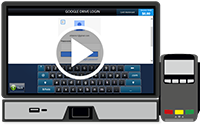
m500 print

Print from the cloud

  • Access popular cloud services such as Dropbox™, Box, Microsoft® OneDrive™ and PrintMe.
  • Directly log in to your account with a familiar and intuitive touch interface.
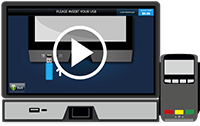
m500_print

Print from USB

  • Connect the USB drive to the front-facing port.
  • Browse through a familiar folder structure to select files to print.
×

Step 1: Select the service to begin

Select Print.

Step 2: Select option

Select Mobile Device.

Step 3: Authorize payment

Authorize payment on the M600 connected card reader using a credit card, campus card or cash card. Some contactless and mobile payment options are supported.

Step 4: Send document via e-mail

Attach your documents to an email and send to print@printme.com. Select Next.

Step 5: Scan or enter PrintMe release code

You will receive a reply email containing a barcode enabled PrintMe release code. Scan the barcode or enter the code manually

Step 6: Select the document to Print

Step 7: Preview document

Step 8: Preview image

If you are printing an image file, you can preview and choose print options including paper size, rotate and enlarge to fit to page.

Step 9: Select number of copies

Step 10: Select pages to print

Select pages to print. You can enter complex page ranges.
Step 11: Select colour options

Select black and white or colour.
Step 12: Select single or double-sided

Select single-sided or double-sided output. Choose to flip double-sided prints on the long edge or short edge of the page.

Step 13: Select page size

Step 14: Review the print job information

The M600 displays print cost for approval on-screen, select Print to proceed.

Step 15: Complete session

Your document is sent to the printer, select End Session.

Step 16: Select receipt delivery method

Step 17: Enter an email address for receipt

Step 18: Acknowledge email receipt

×

Step 1: Select the service to begin

Select print.

Step 2: Select option

Select a cloud service, for example, OneDrive.

Step 3: Authorize payment

Authorize payment on the M600 connected card reader using a credit card, campus card or cash card. Some contactless and mobile payment options are supported.

Step 4: Login to OneDrive cloud service

Step 5: Select document to print

Step 6: Preview document

Previewing allows you to zoom in and scroll through pages.

Step 7: Preview image

If you are printing an image file, you can preview and choose print options including paper size, rotate and enlarge to fit to page.

Step 8: Select number of copies

Step 9: Select pages to print

Select pages to print. You can enter complex page ranges.

Step 10: Select colour options

Select black and white or colour.

Step 11: Select single or double-sided

Select single-sided or double-sided output. Choose to flip double-sided prints on the long edge or short edge of the page.

Step 12: Select page size

Step 13: Review the print job information

The M600 displays print cost for approval on-screen, select Print to proceed.

Step 14: Complete session

Your document is sent to the printer, select End Session.

Step 15: Select receipt delivery method

Step 16: Enter an email address for receipt

Step 17: Acknowledge email receipt

×

Step 1: Select the service to begin

Select Print.

Step 2: Select option

Select USB.

Step 3: Authorize payment

Authorize payment on the M600 connected card reader using a credit card, campus card or cash card. Some contactless and mobile payment options are supported.

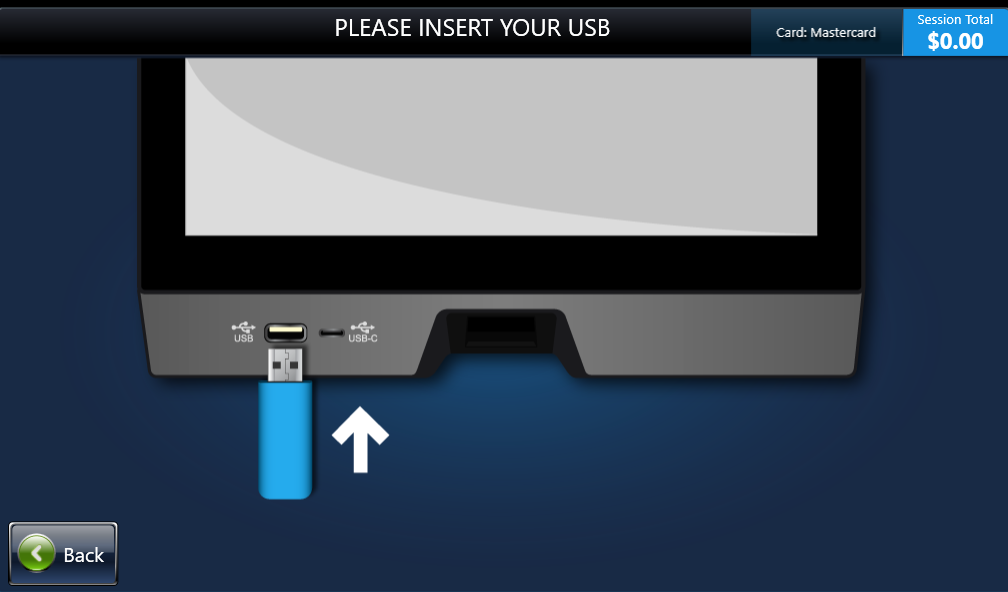
Step 4: Insert USB drive

Insert USB drive into the front facing USB-A or USB-C port.

Step 5: Select the document to print

Step 6: Preview document

Previewing allows you to zoom in and scroll through pages.

Step 7: Preview image

If you are printing an image file, you can preview and choose print options including paper size, rotate and enlarge to fit to page.

Step 8: Select the number of copies

Step 9: Select pages to print

Select pages to print. You can enter complex page ranges.

Step 10: Select colour options

Select black and white or color.

Step 11: Select single or double-sided

Select single-sided or double-sided output. Choose to flip double-sided prints on the long edge or short edge of the page.

Step 12: Select page size

Step 13: Review the print job information

The M600 displays print cost for approval on-screen, select Print to proceed.

Step 14: Complete session

Your document is sent to the printer, select End Session.

Step 15: Select receipt delivery method

Step 16: Enter an email address for receipt

Step 17: Acknowledge email receipt

Step 18: Remove USB drive

Resources

Case Studies

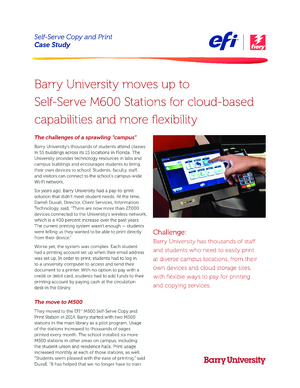
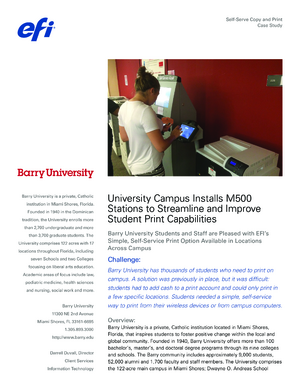
Self-Serve Copy and Print Case Study: Barry University

Case Study: Barry University moves up to Self-Serve M600 Stations for cloud-based capabilities and more flexibility

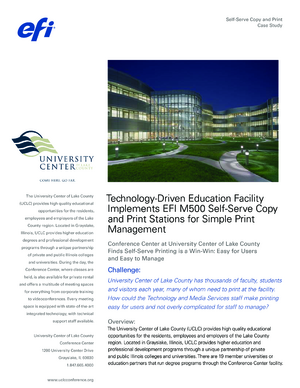
Fiery Self-Serve M500 Station: University Center of Lake County case study

Read about how the University Center of Lake County manages printing resources and recoups cost with M500 stations.

Barry University uses Self-Serve M600 Stations for cloud-based capabilities

Learn how students and staff use M600 Stations to print wirelessly from mobile devices.

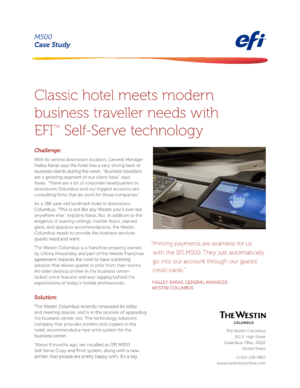
Fiery Self-Serve M500 Station: The Westin Columbus case study

Learn how Westin Columbus offers convenient self-serve printing solution for their guests.

Datasheets

Fiery Self-Serve AdminCentral Datasheet

Get an overview of the cloud-based Fiery Self-Serve AdminCentral and learn how it easily manages M600 stations right from a web browser.

Other Resources

BLI Product Review: Fiery Mobile Printing M500 Copy and Print Station

Check out the latest product review of the Mobile Printing M500 Station and AdminCentral by BLI.

BLI Product Review: Fiery Mobile Printing M600 Copy and Print Station

Check out the latest product review of the Mobile Printing M600 Station and AdminCentral by BLI.

Verified Printers

The Mobile Printing M600 Station is compatible with most IPP/1.1+ enabled printers. Click on the drop down menus below to see if your printer has been tested for use with M600.

The printers included in the list below are verified by Fiery to fully work with the M600. If you can’t find the printer you’d like to use with the M600, please contact us.